Washi Tape Photo Corners
I used to have a box of commercial photo corners, clear ones like these that I found somewhere in my parent’s stationery and, um, adopted. I use them in scrapbooking to hold down photos. I know I could just glue the photos in, or tape the photos down, and I sometimes do. But most of the time I like to be able to take the photos out in future and not have a sticky mess on them. I also use them to hold in things where I’m not sure the glue will stick, like plastic tickets.
I ran out of photo corners while in Japan and I could not find them anywhere. After much searching I found a tutorial for making photo corners from washi tape (Japanese). After much practice I think I’ve improved the technique a little bit so I thought it was worth expanding on and making available in English.
The first thing you’ll need is washi tape1. These days washi tape is available just about anywhere, from Kmart to IKEA so you shouldn’t have any trouble finding it. This technique also uses the most common kind of washi tape, 15mm wide tape in a simple design.
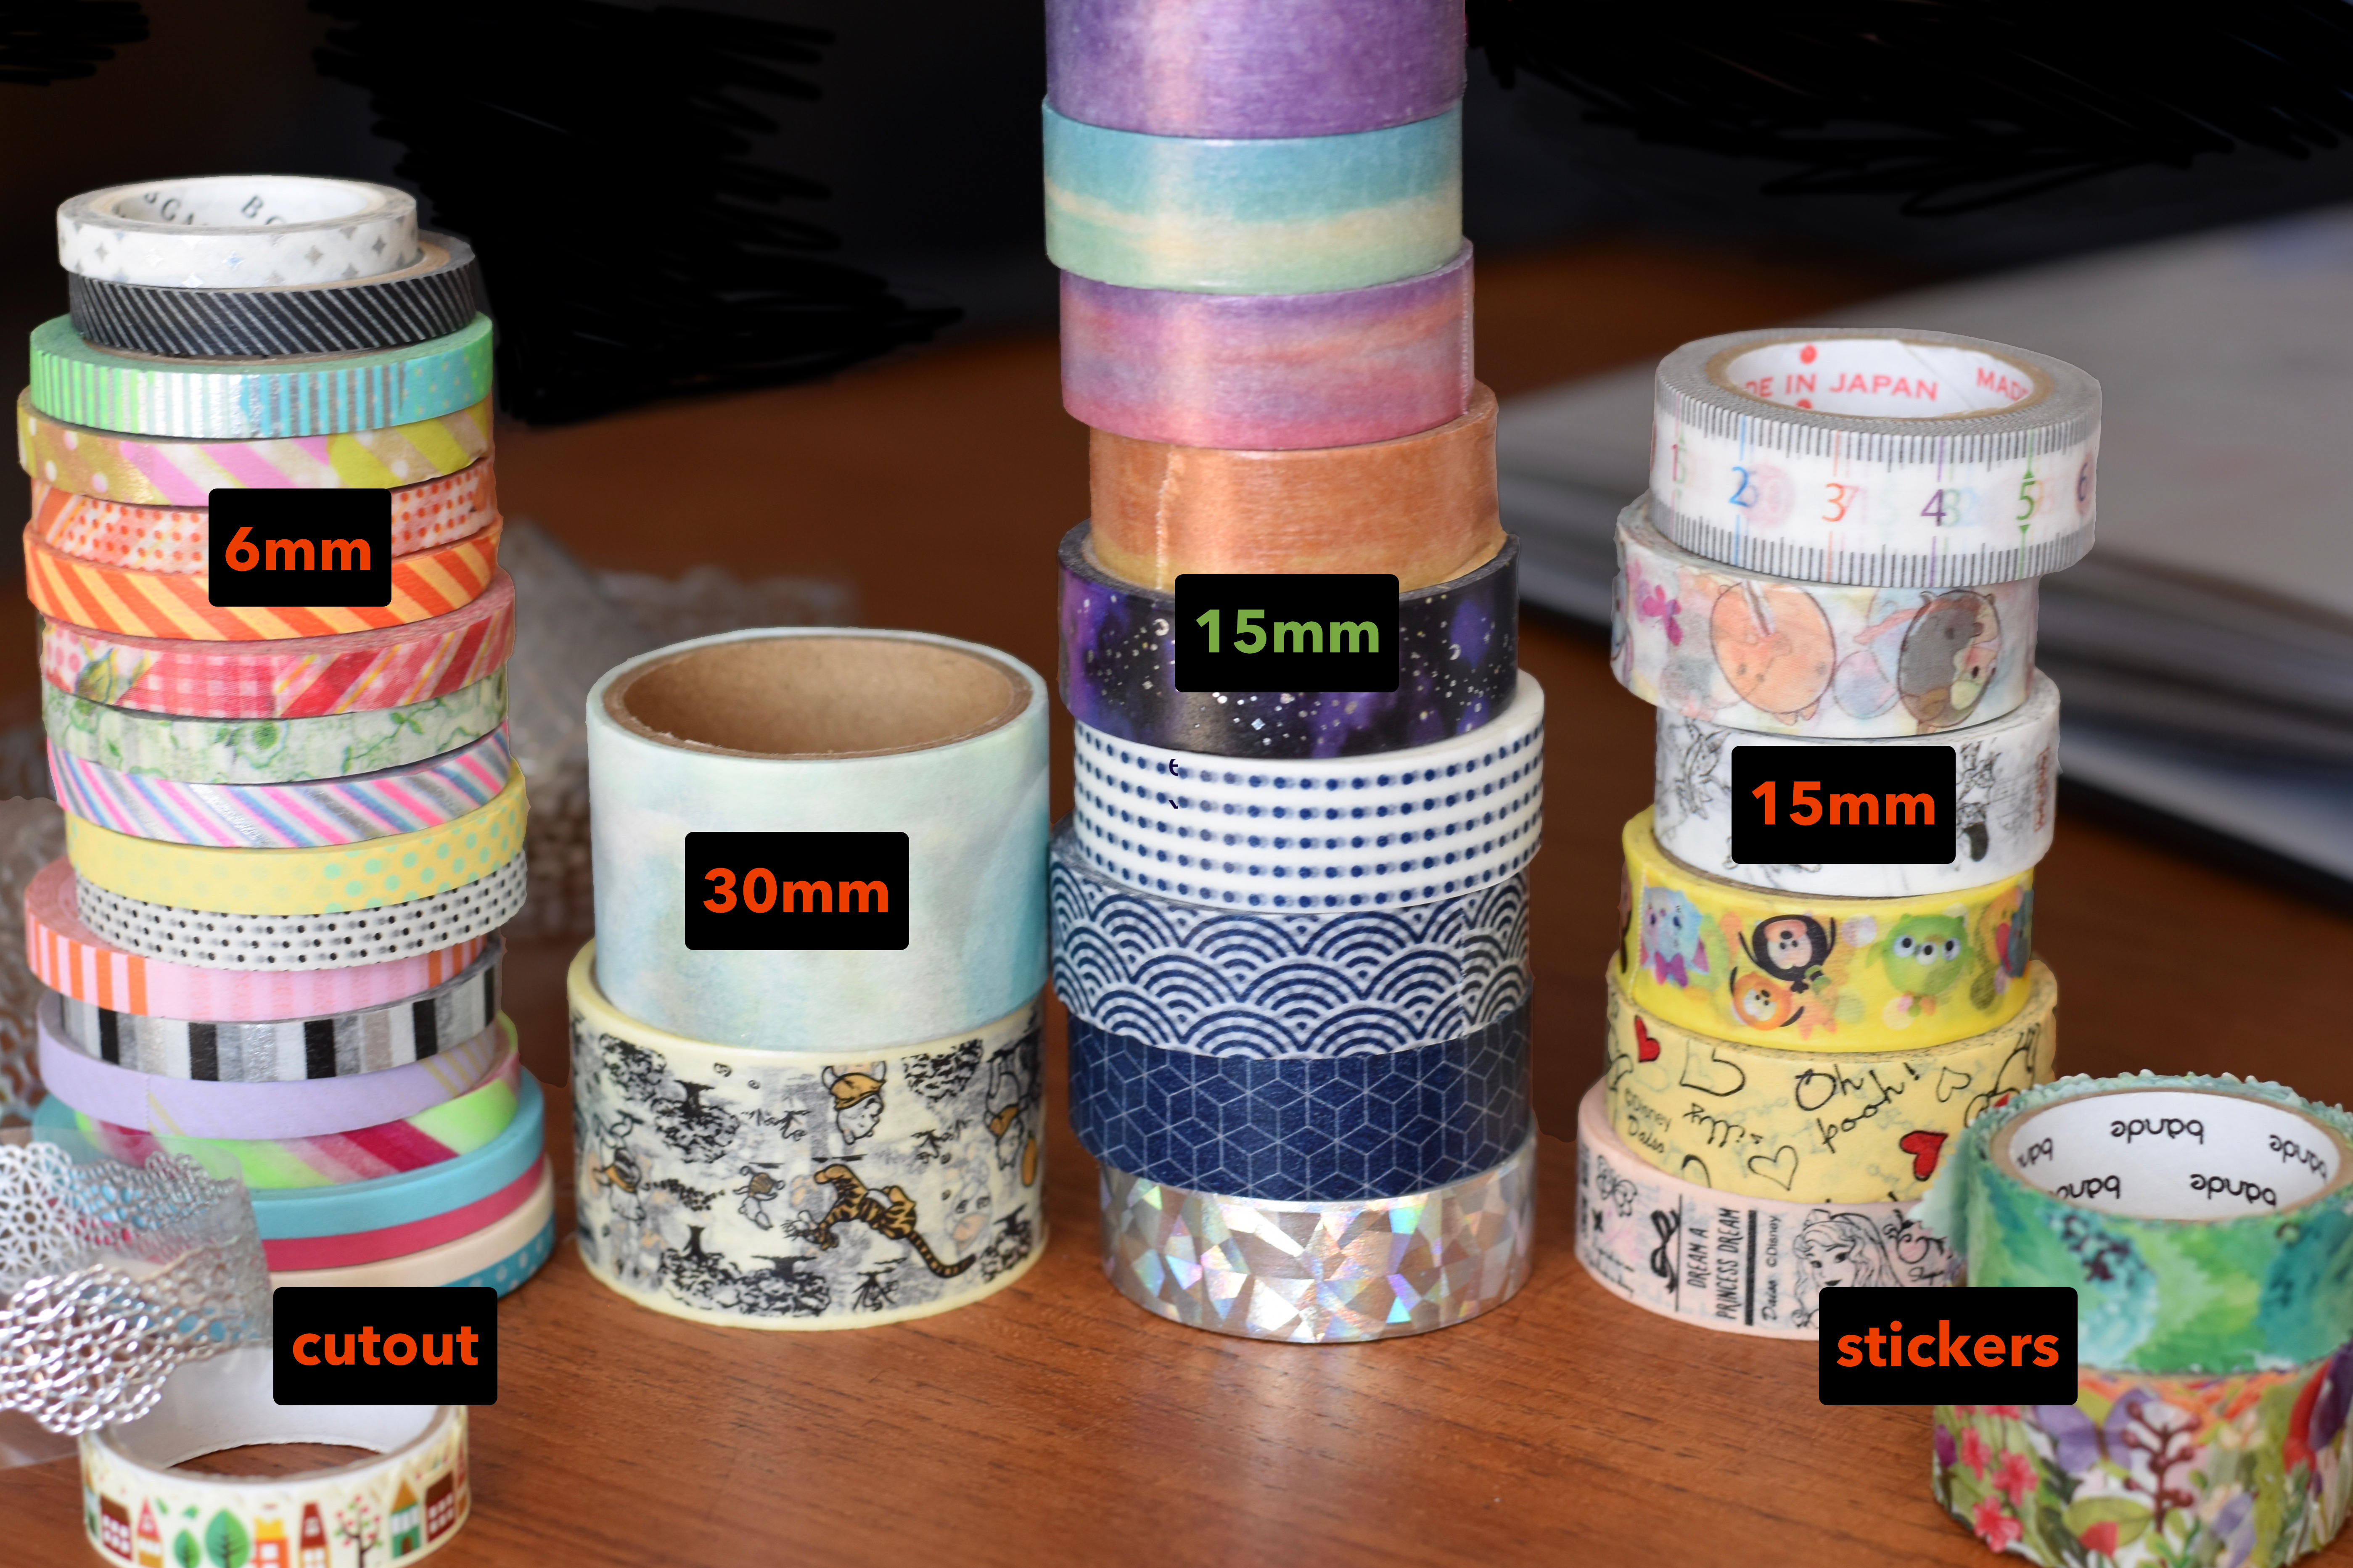
This technique won’t work with fancy tape with a cutout shape, the 6mm (or thinner!) tape, washi tape stickers, or tape with complex designs. You can use wider tapes like 30mm, but this will make very large corners. Very large corners might be useful for holding booklets, but since I’m mostly using Instax mini, I use the standard 15mm tape to make photo corners.
I’m going to illustrate this tutorial using a tape with a design of a ruler marked in centimetres, which is very handy for showing how to do this and how much tape is used. I wouldn’t usually use this design because large designs like this are lost in the tiny photo corner. I’d usually recommend a tape with a simple design (stripes, diamonds) or plain colours. Save your cute character tapes for borders or backgrounds.
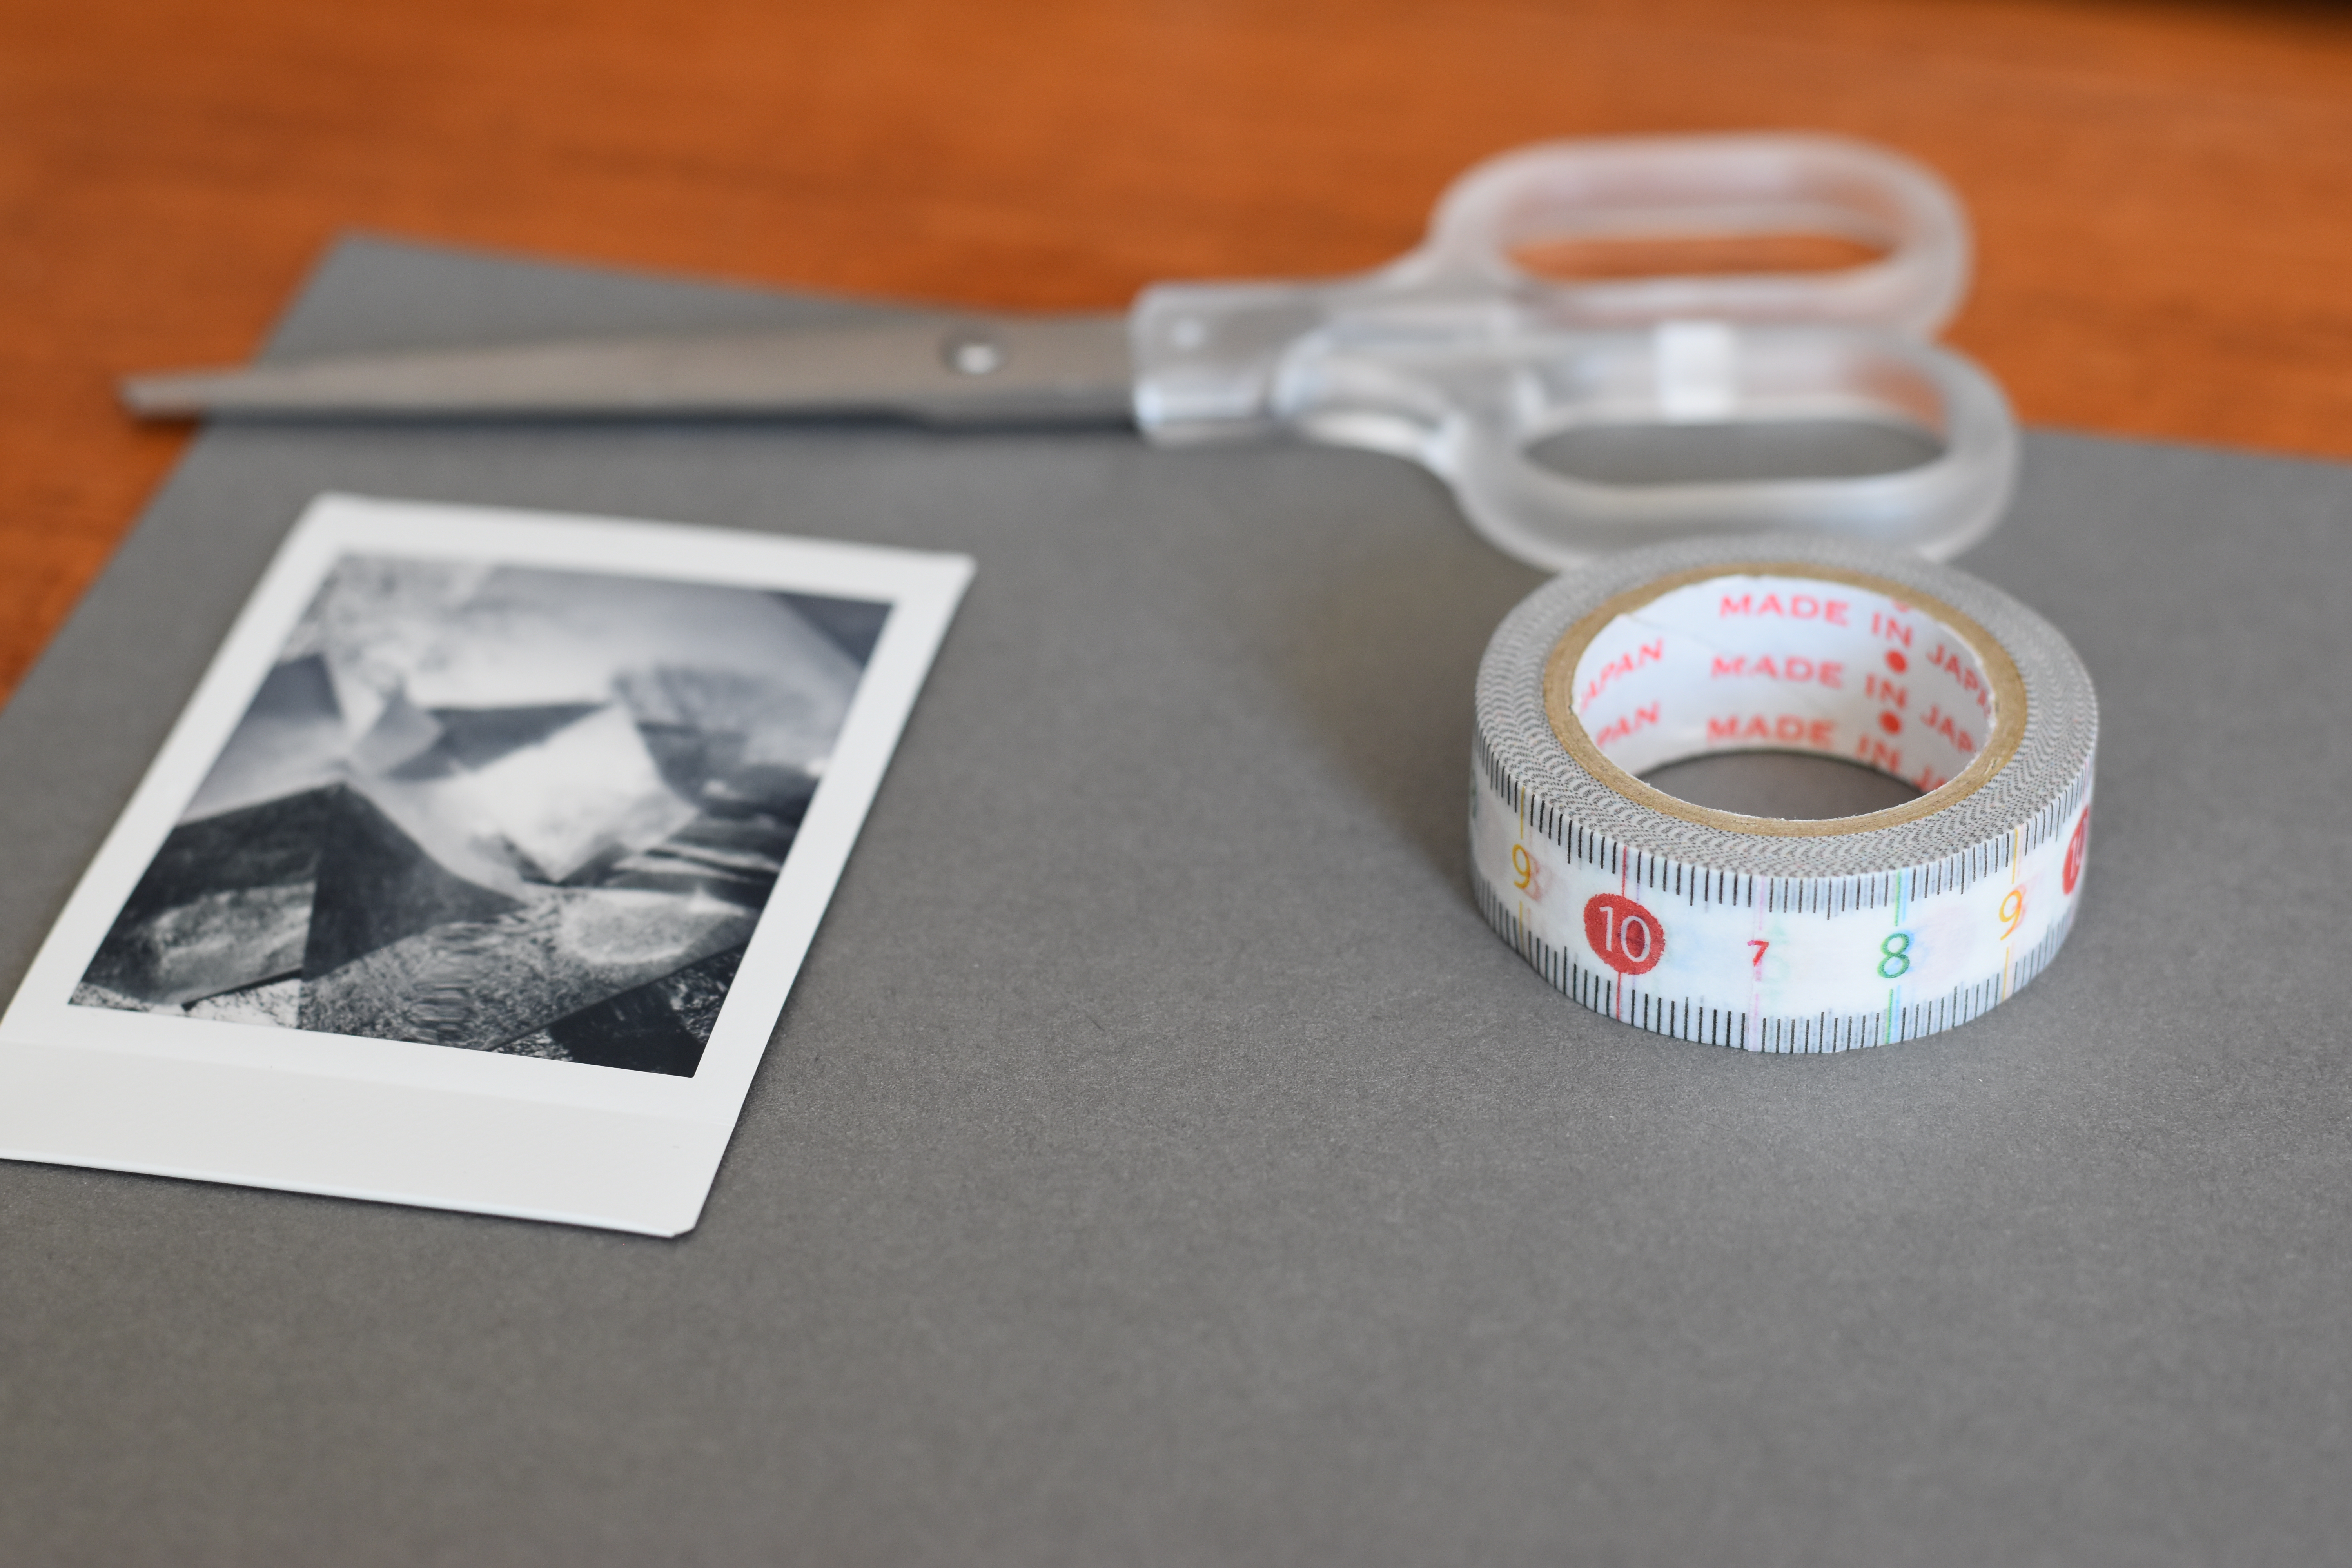
Here’s what you need:
- Scissors, a tape cutter, a knife, or really good tearing skills
- 15mm washi tape
- Something you want to stick down, like a photo or ticket
- Something you want to stick it to, like a scrapbook album page or a greeting card
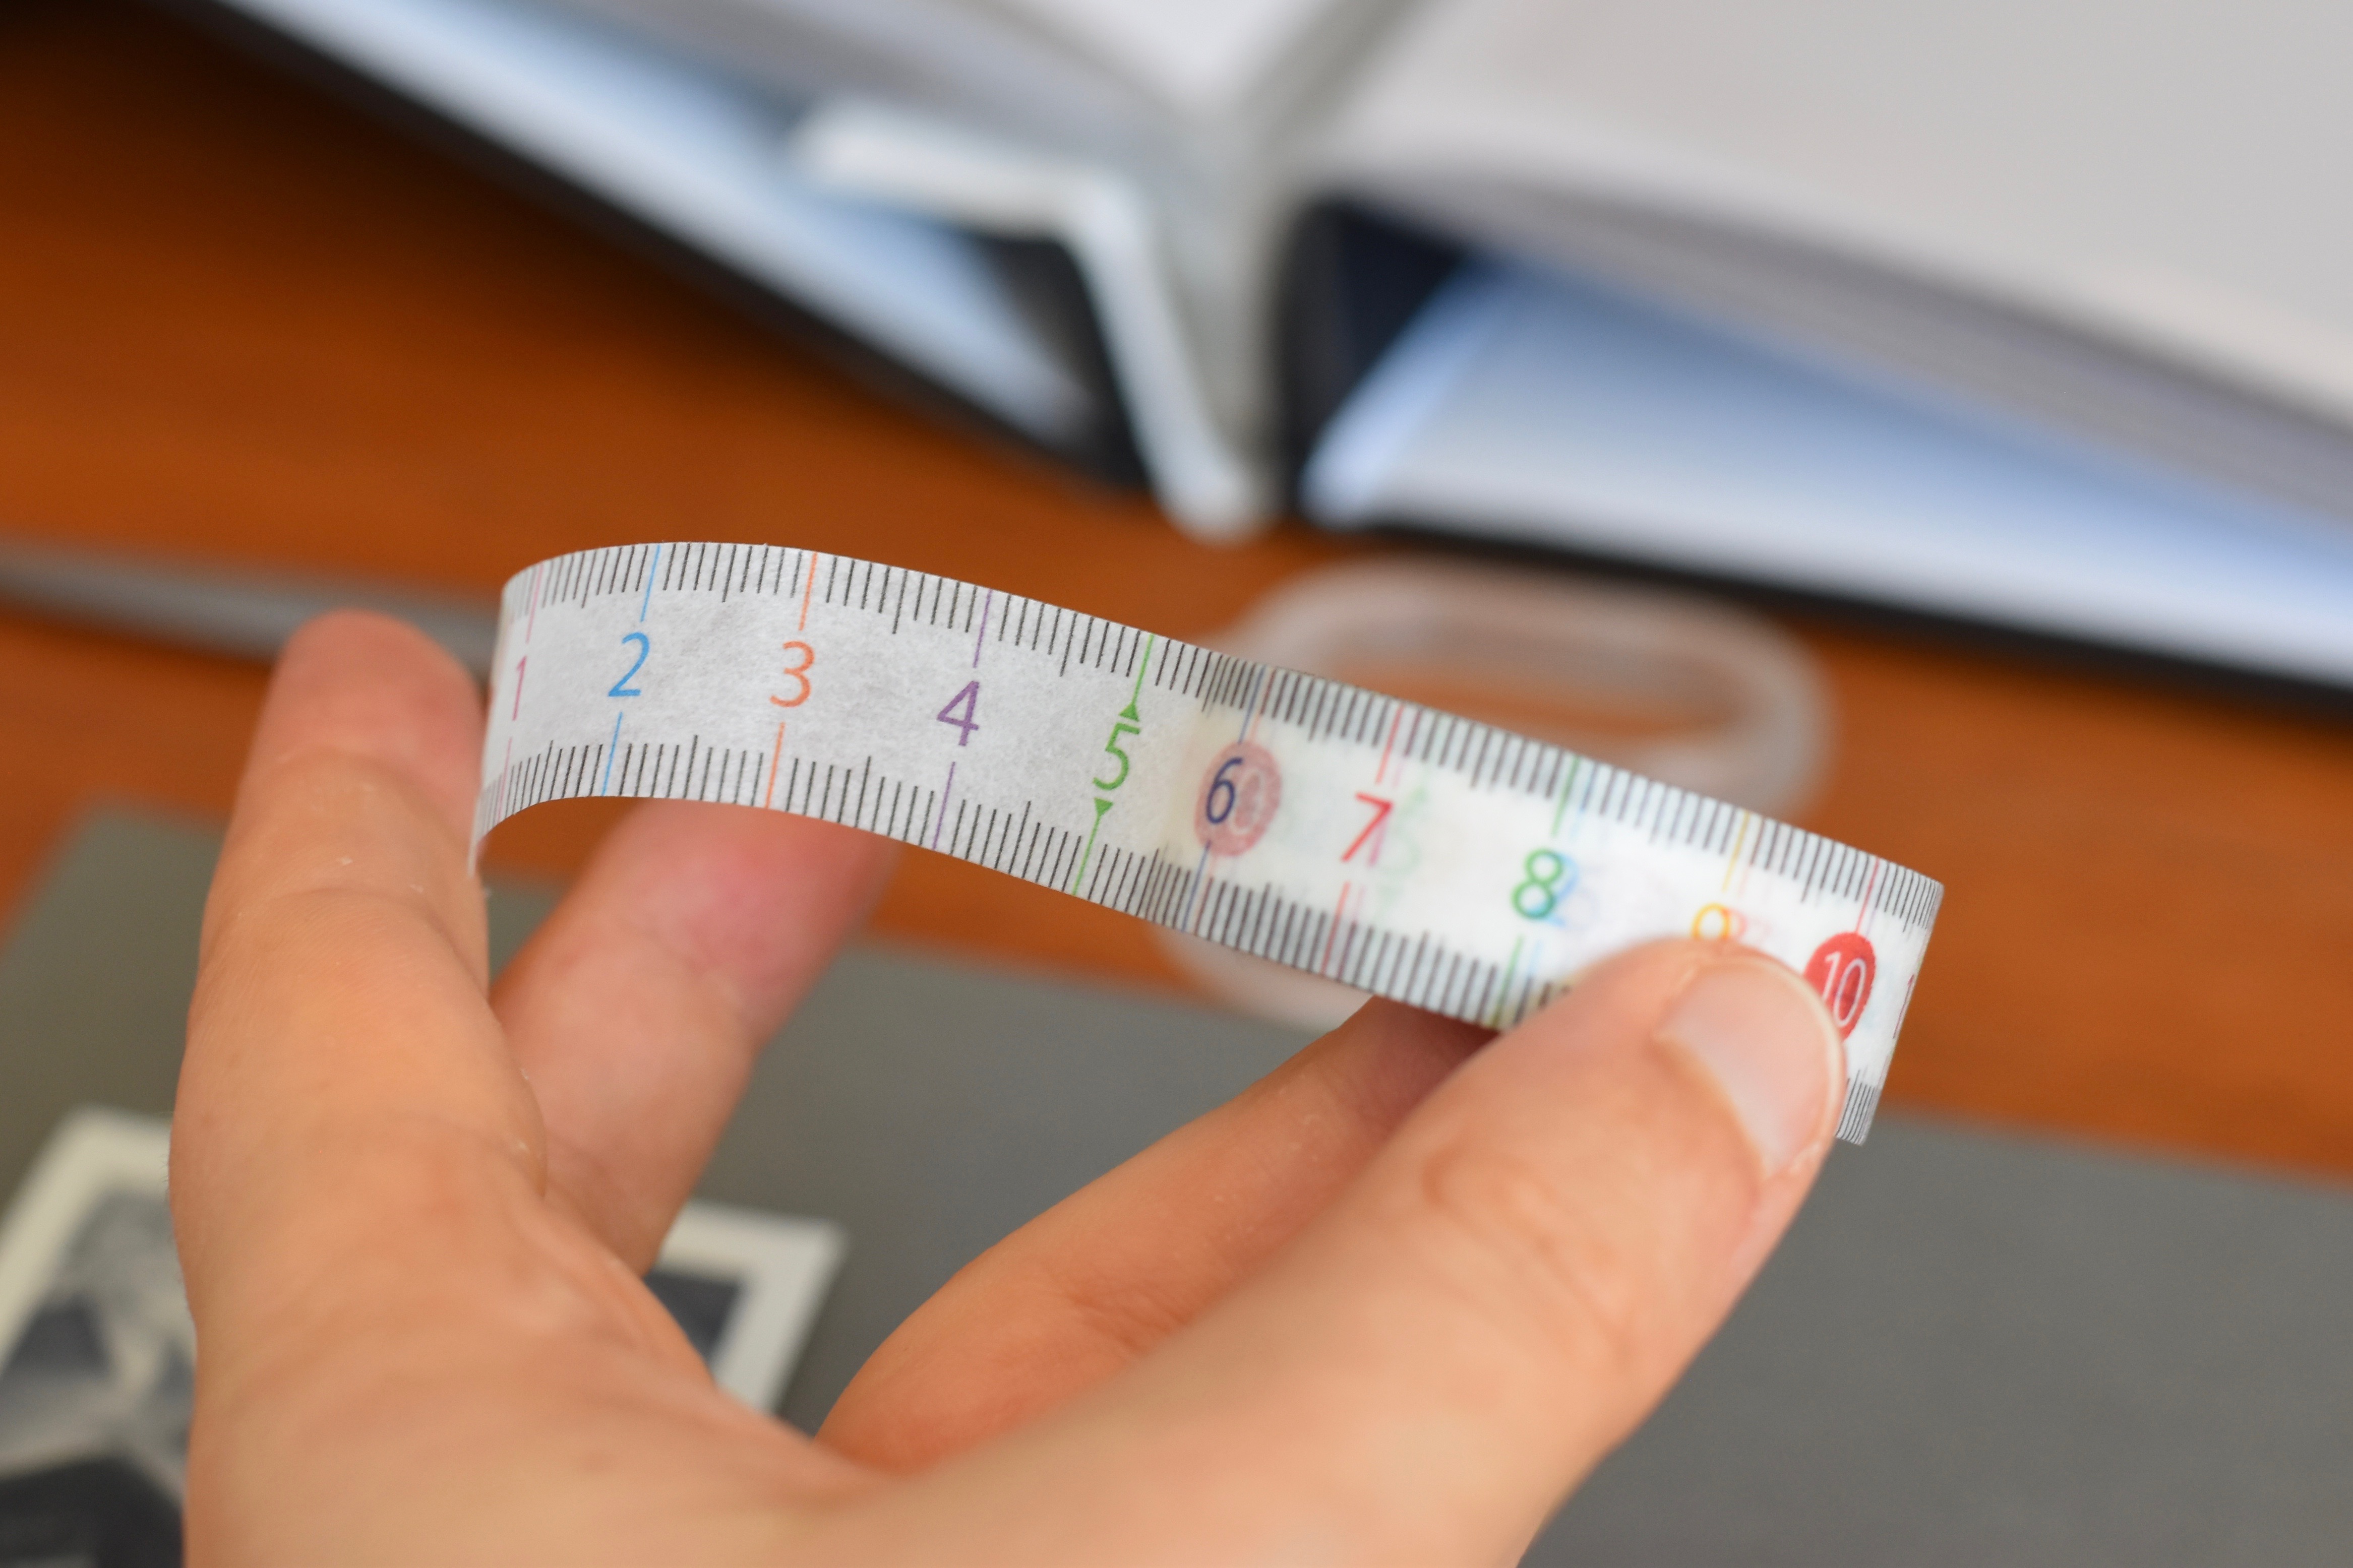
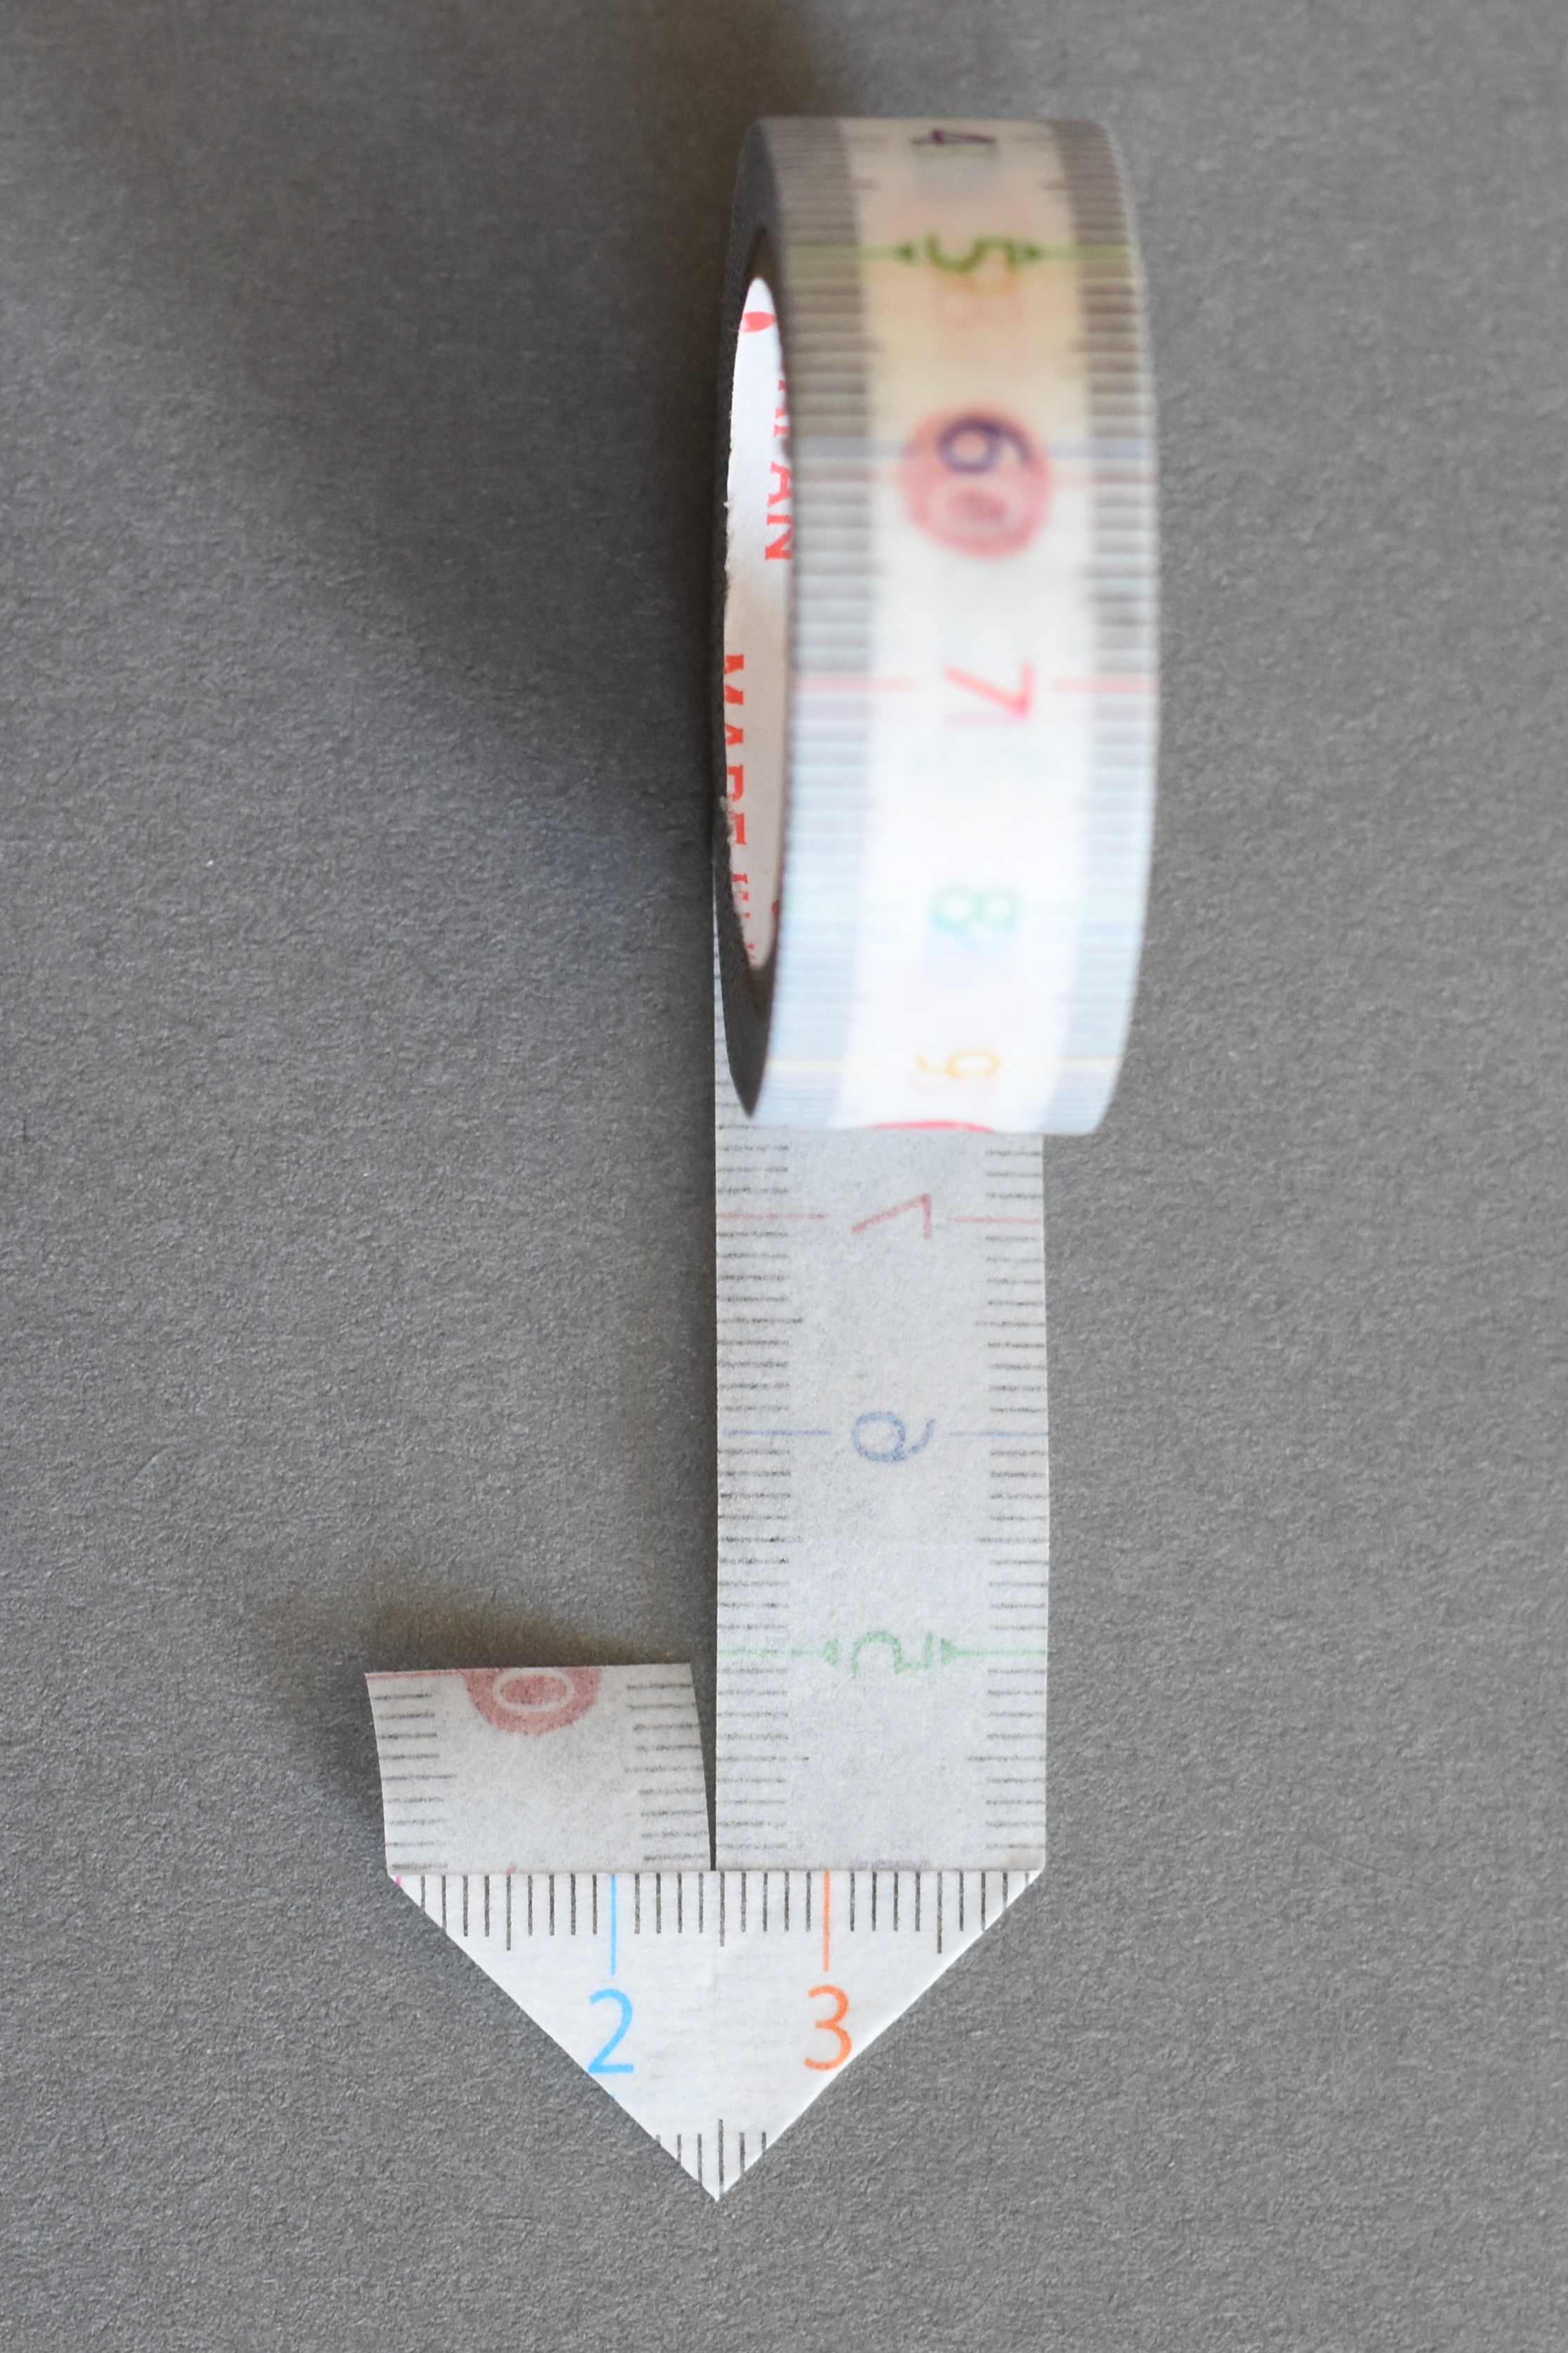
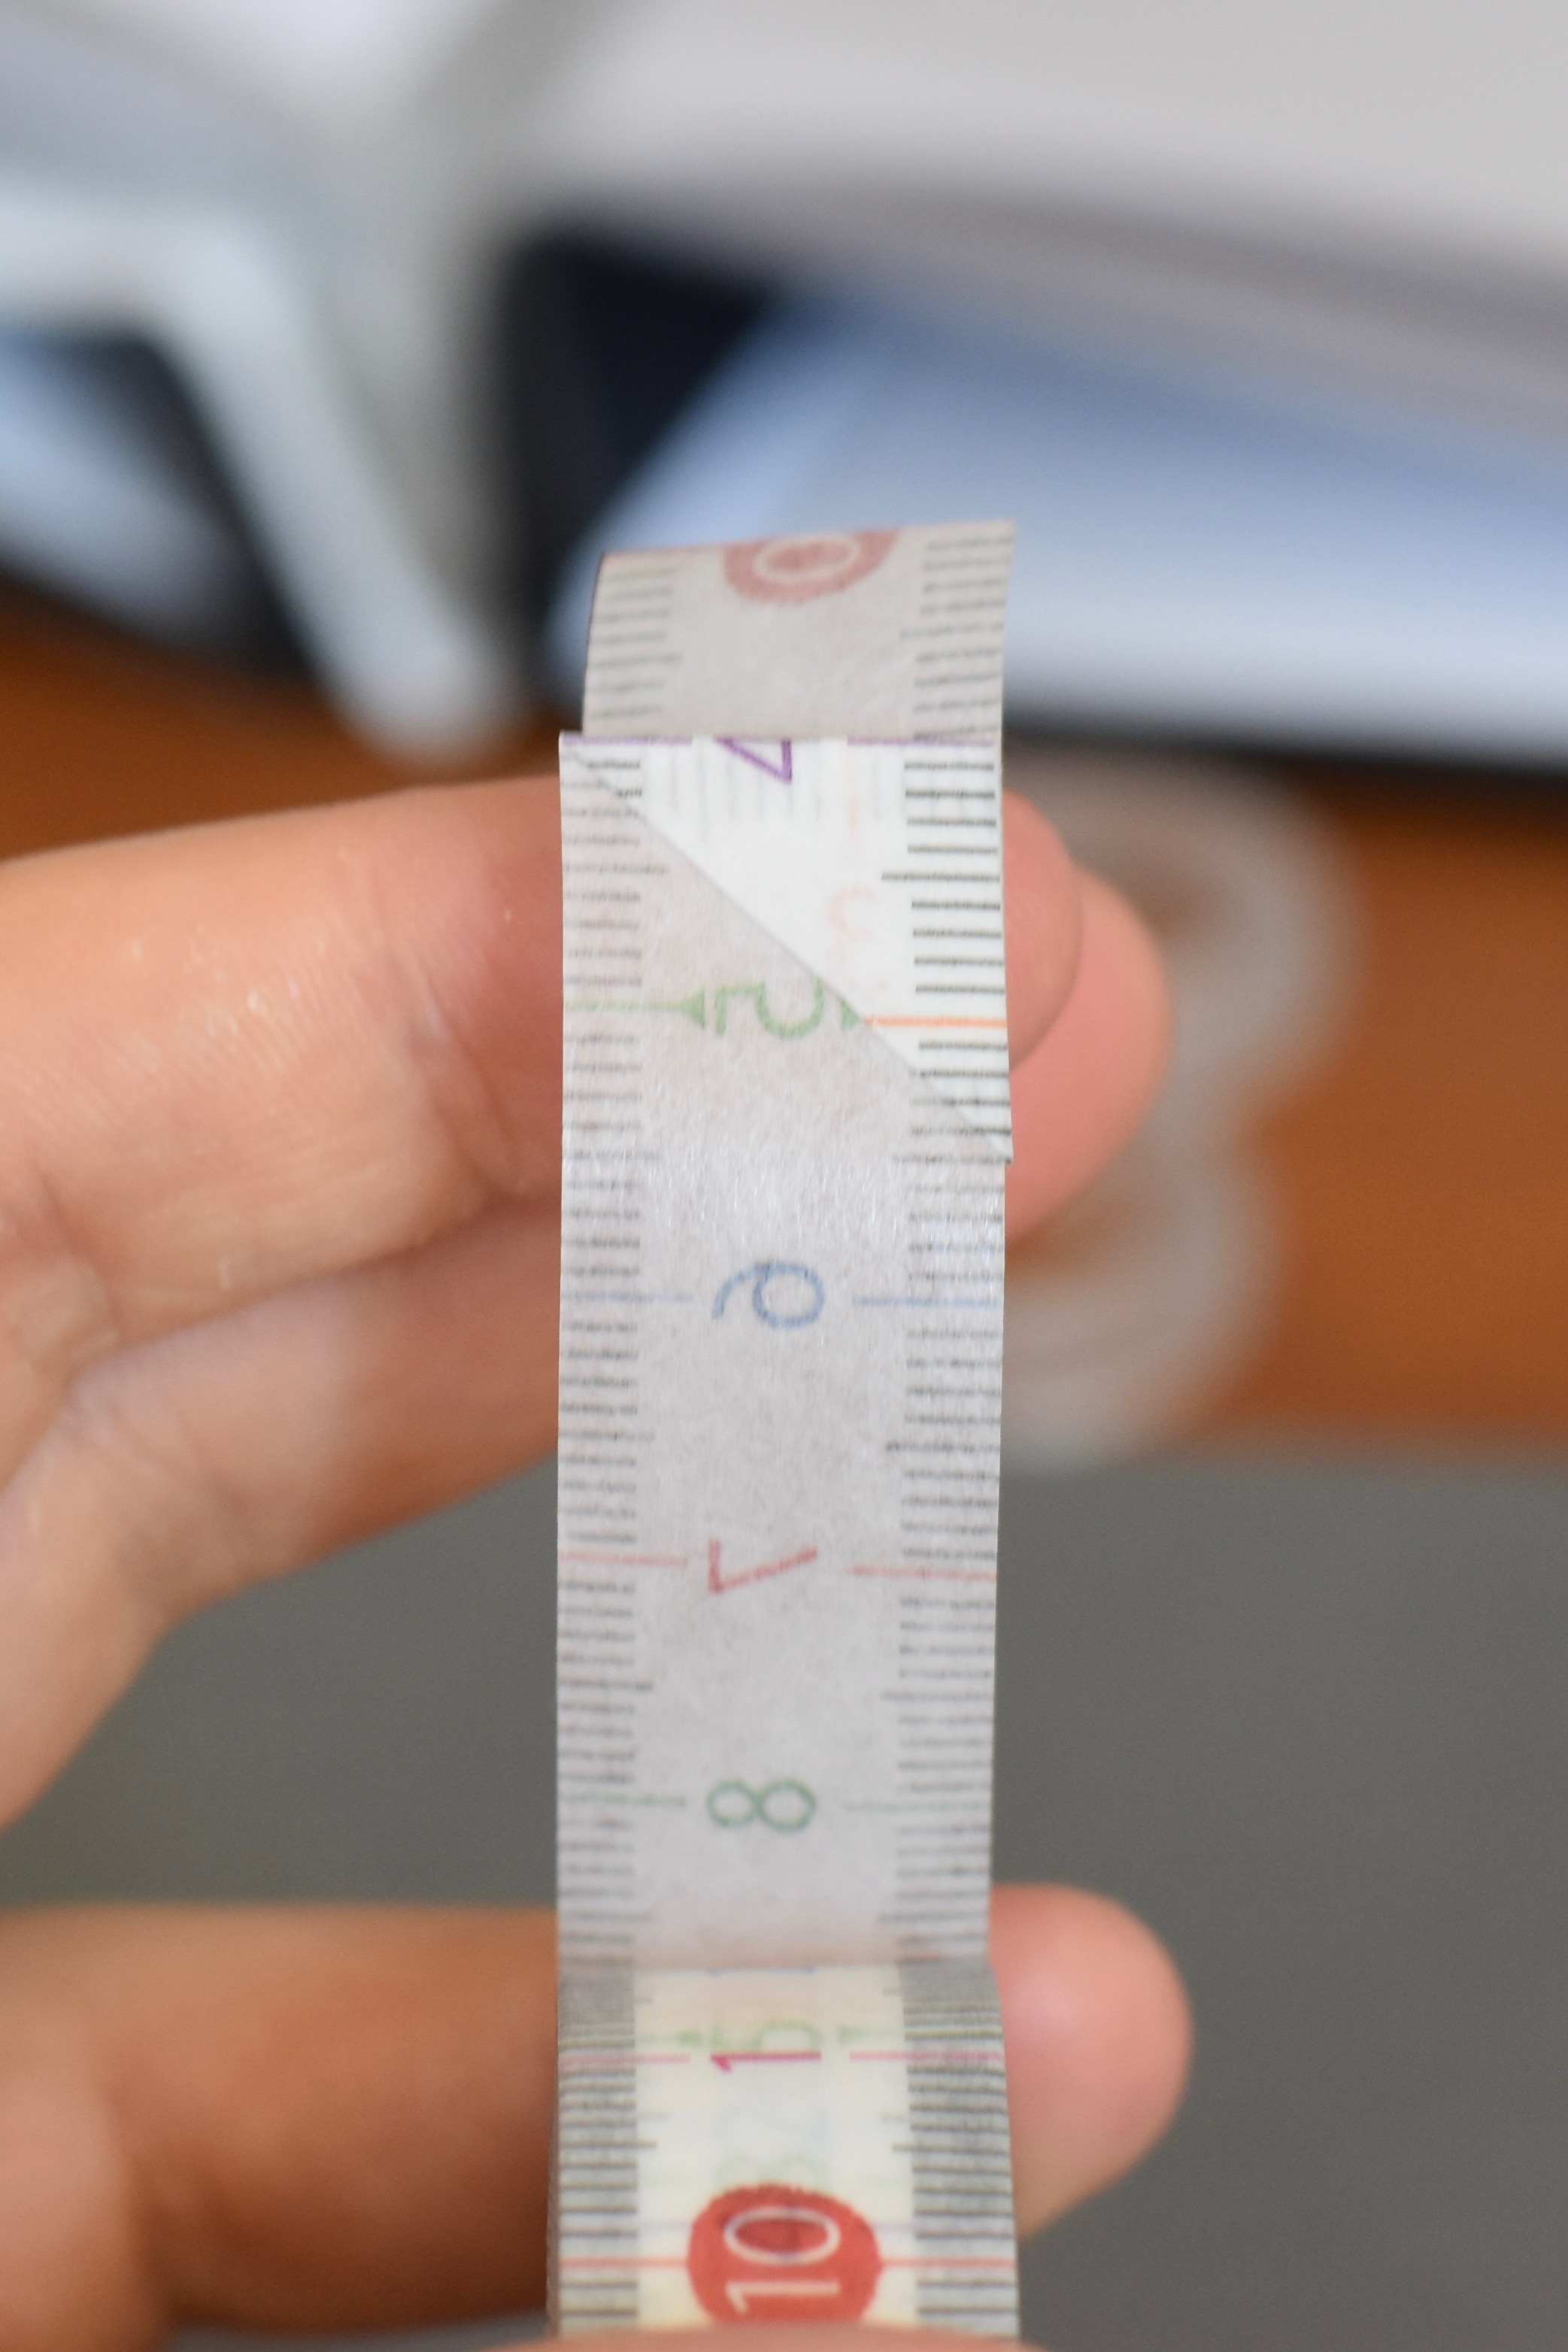
Find the end of your tape and peel off about 5cm.
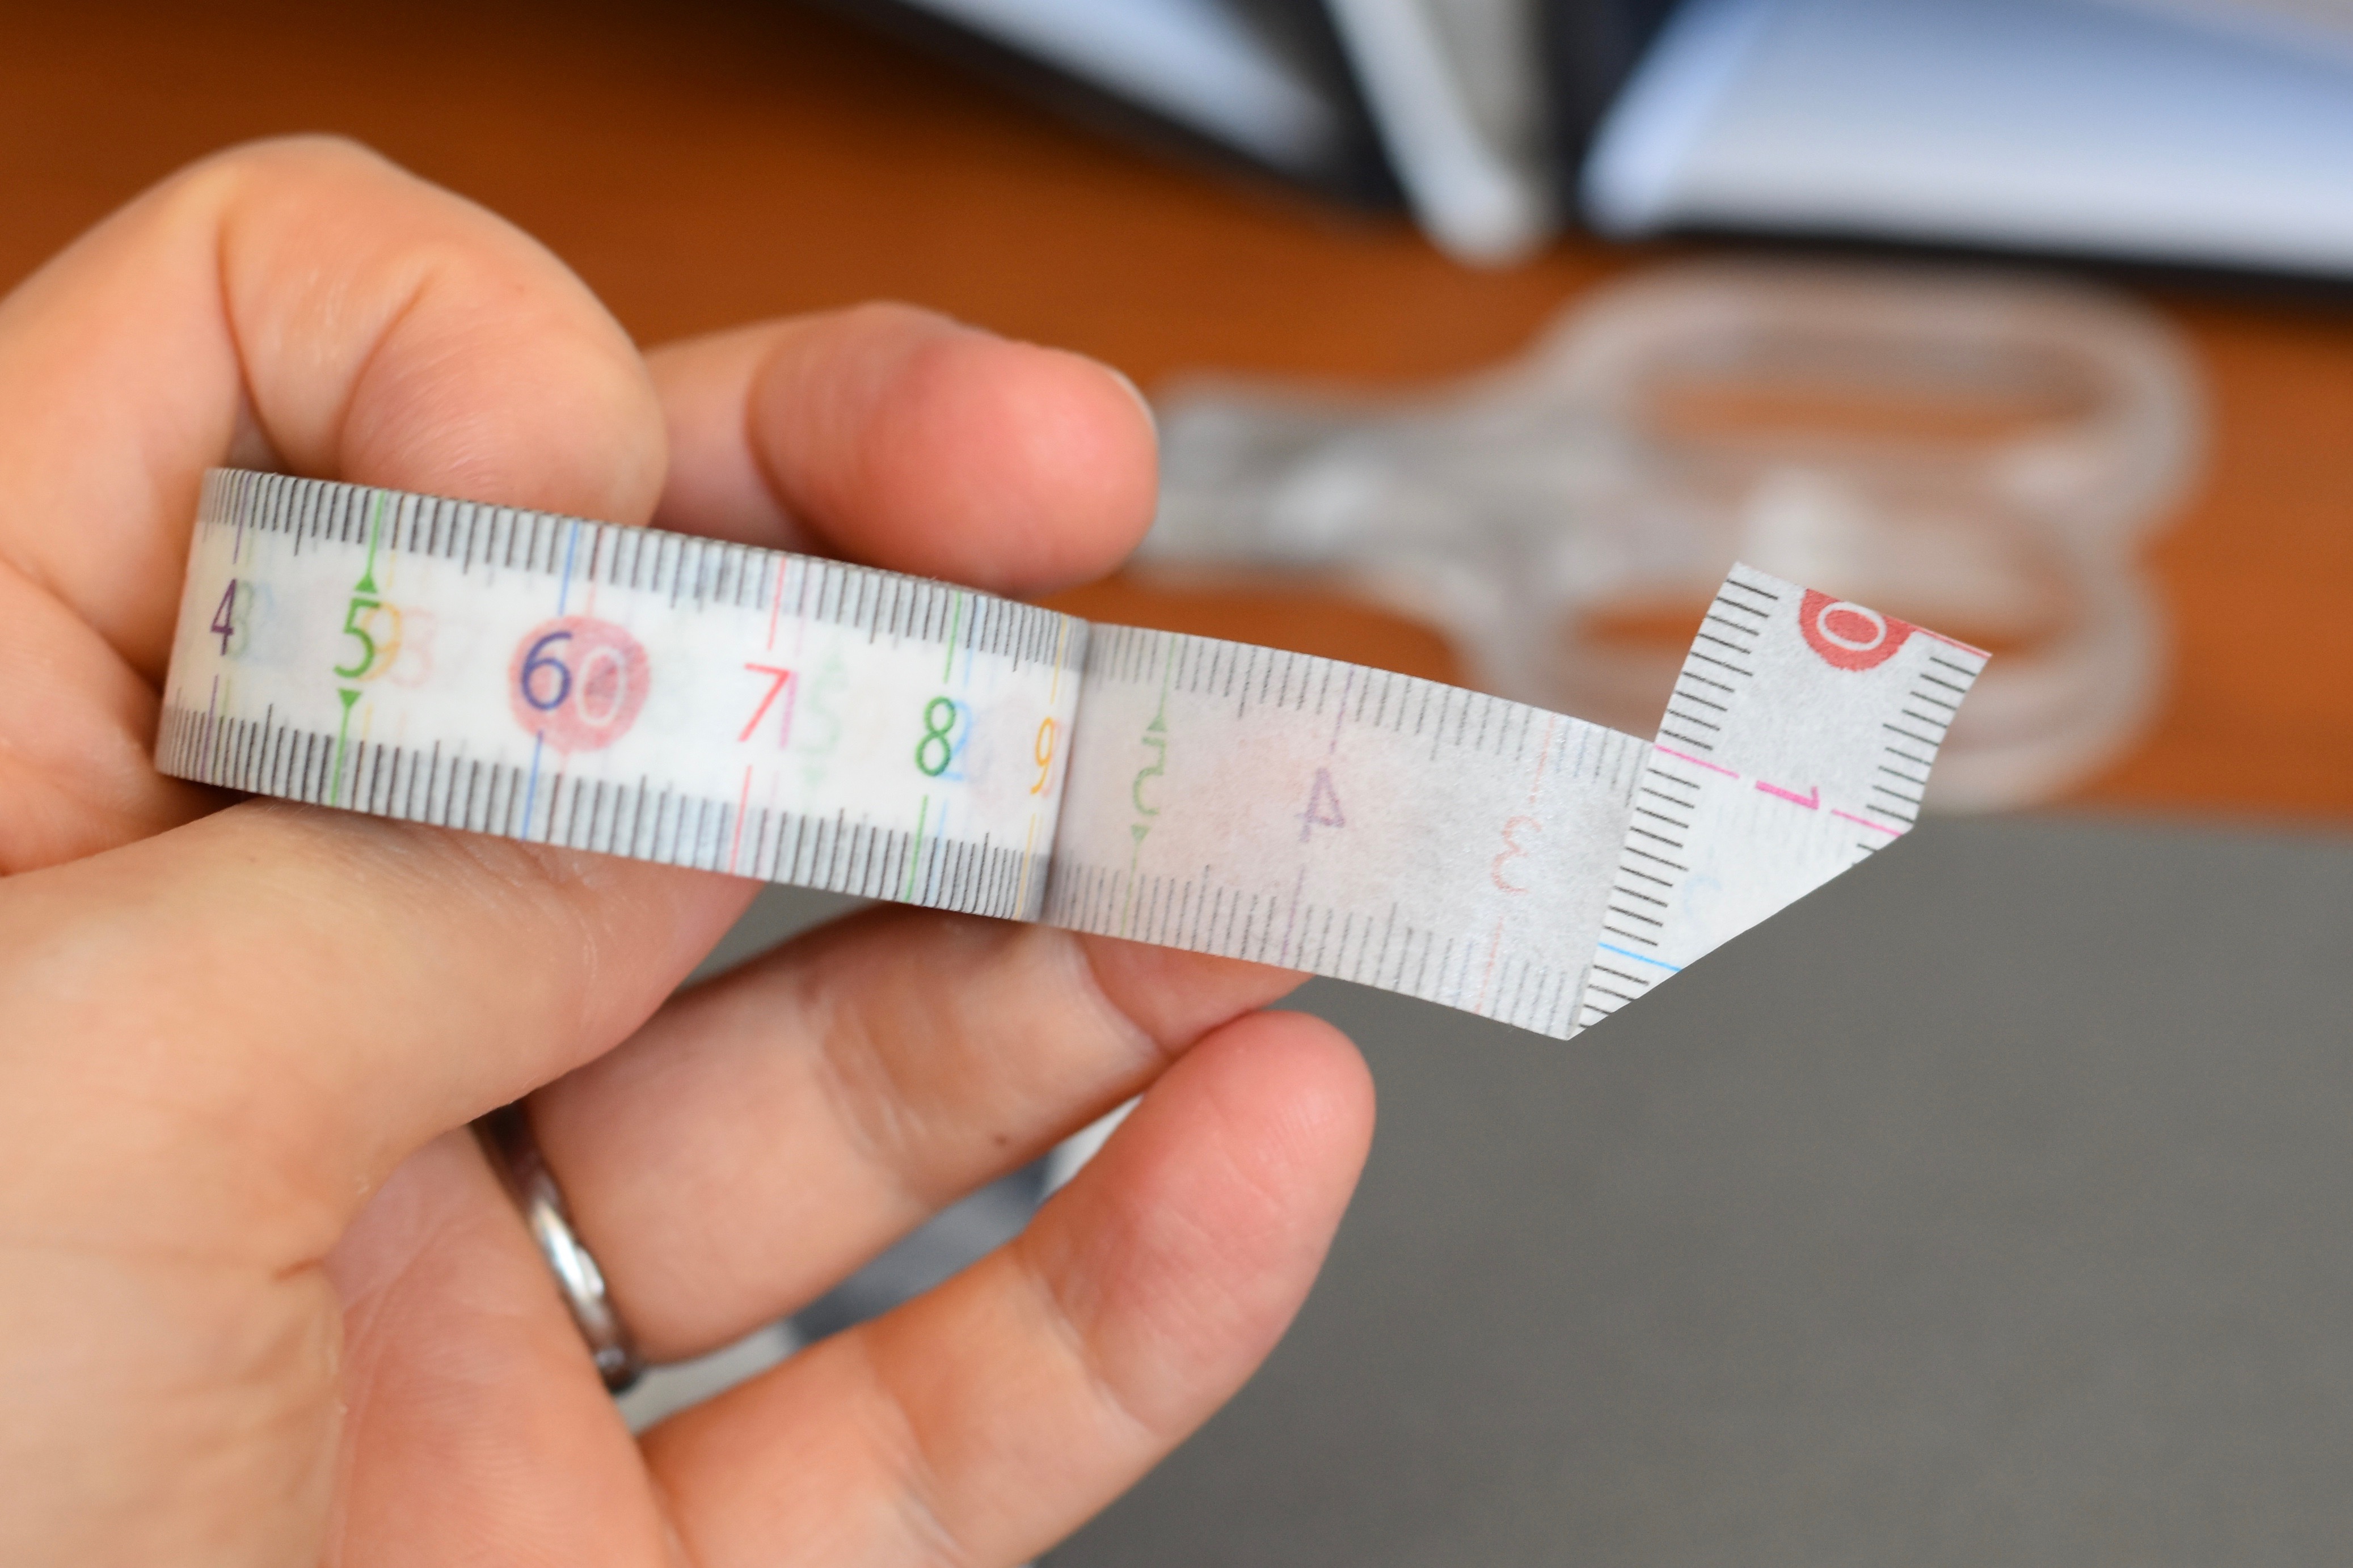
Leaving 1cm2 of tail, with sticky sides together, fold the tape so it goes at 90º to where it was before. It should have a cut-off sort of corner, with two 135º angles on the outside.
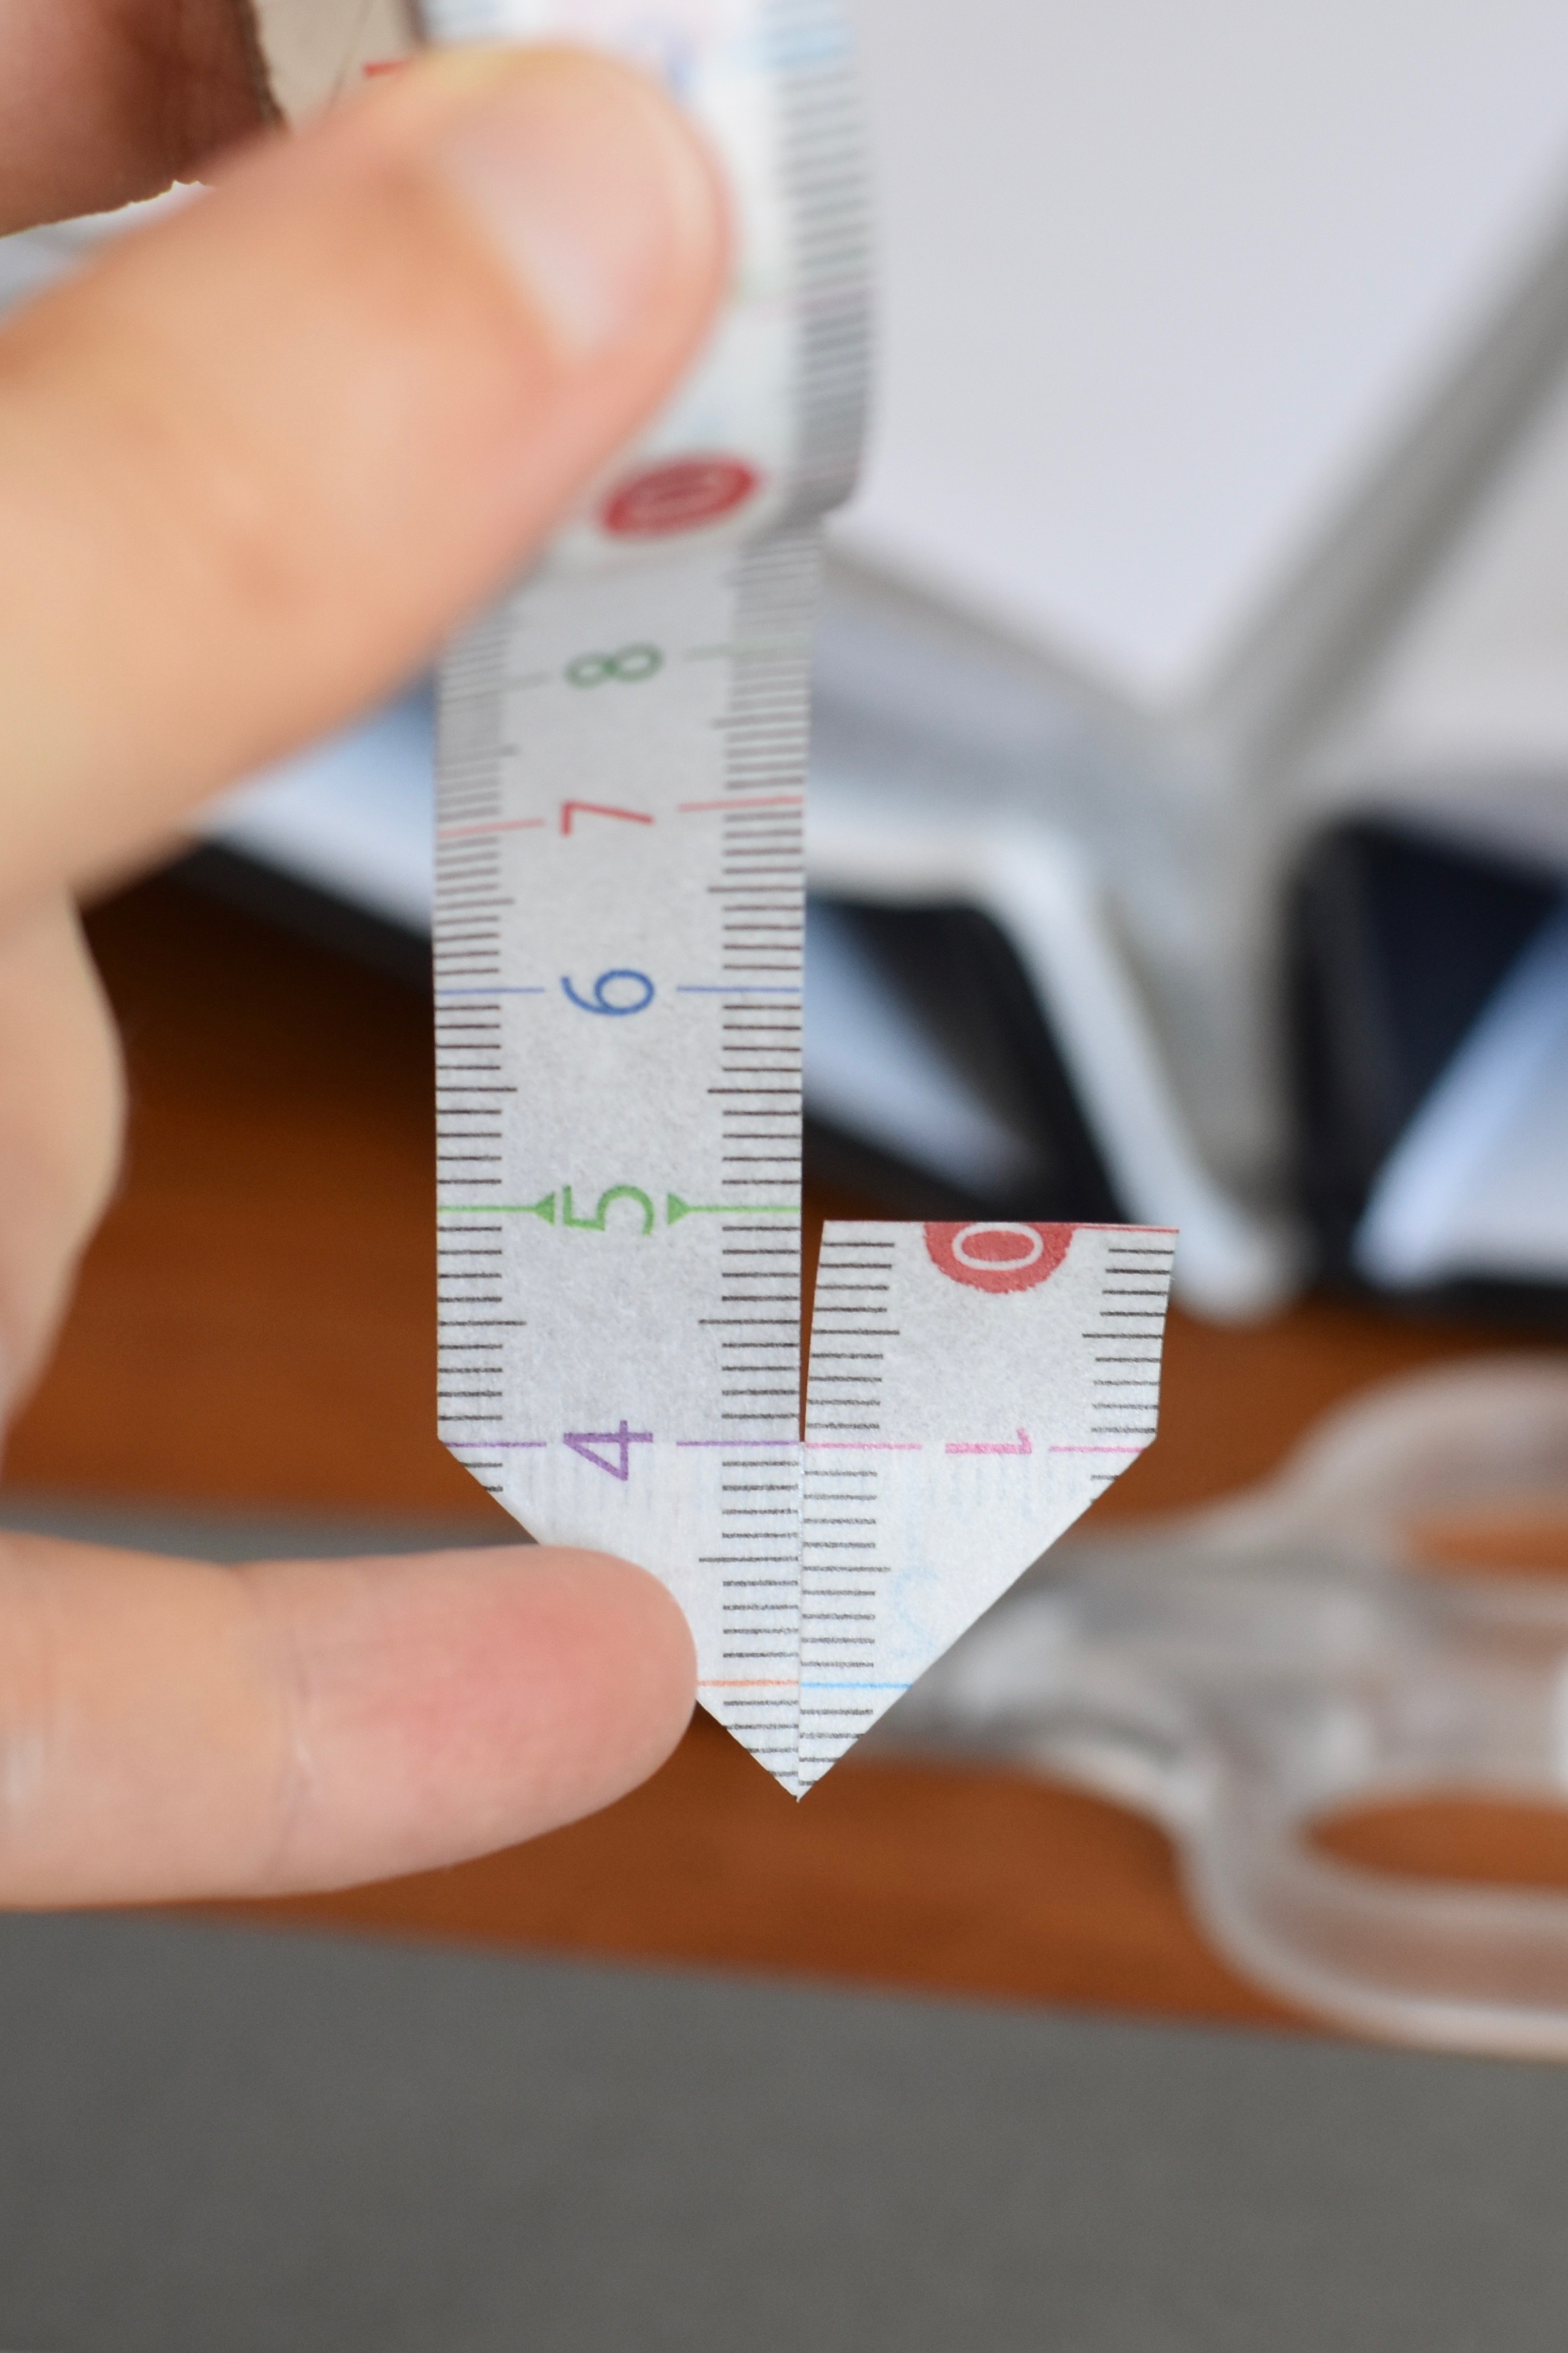
Fold again, sticky sides together. The tail and the part attached to the roll should have the sticky sides facing the same way, and there should be a 90º corner on the tape.
Turn the tape so the sticky side faces up.
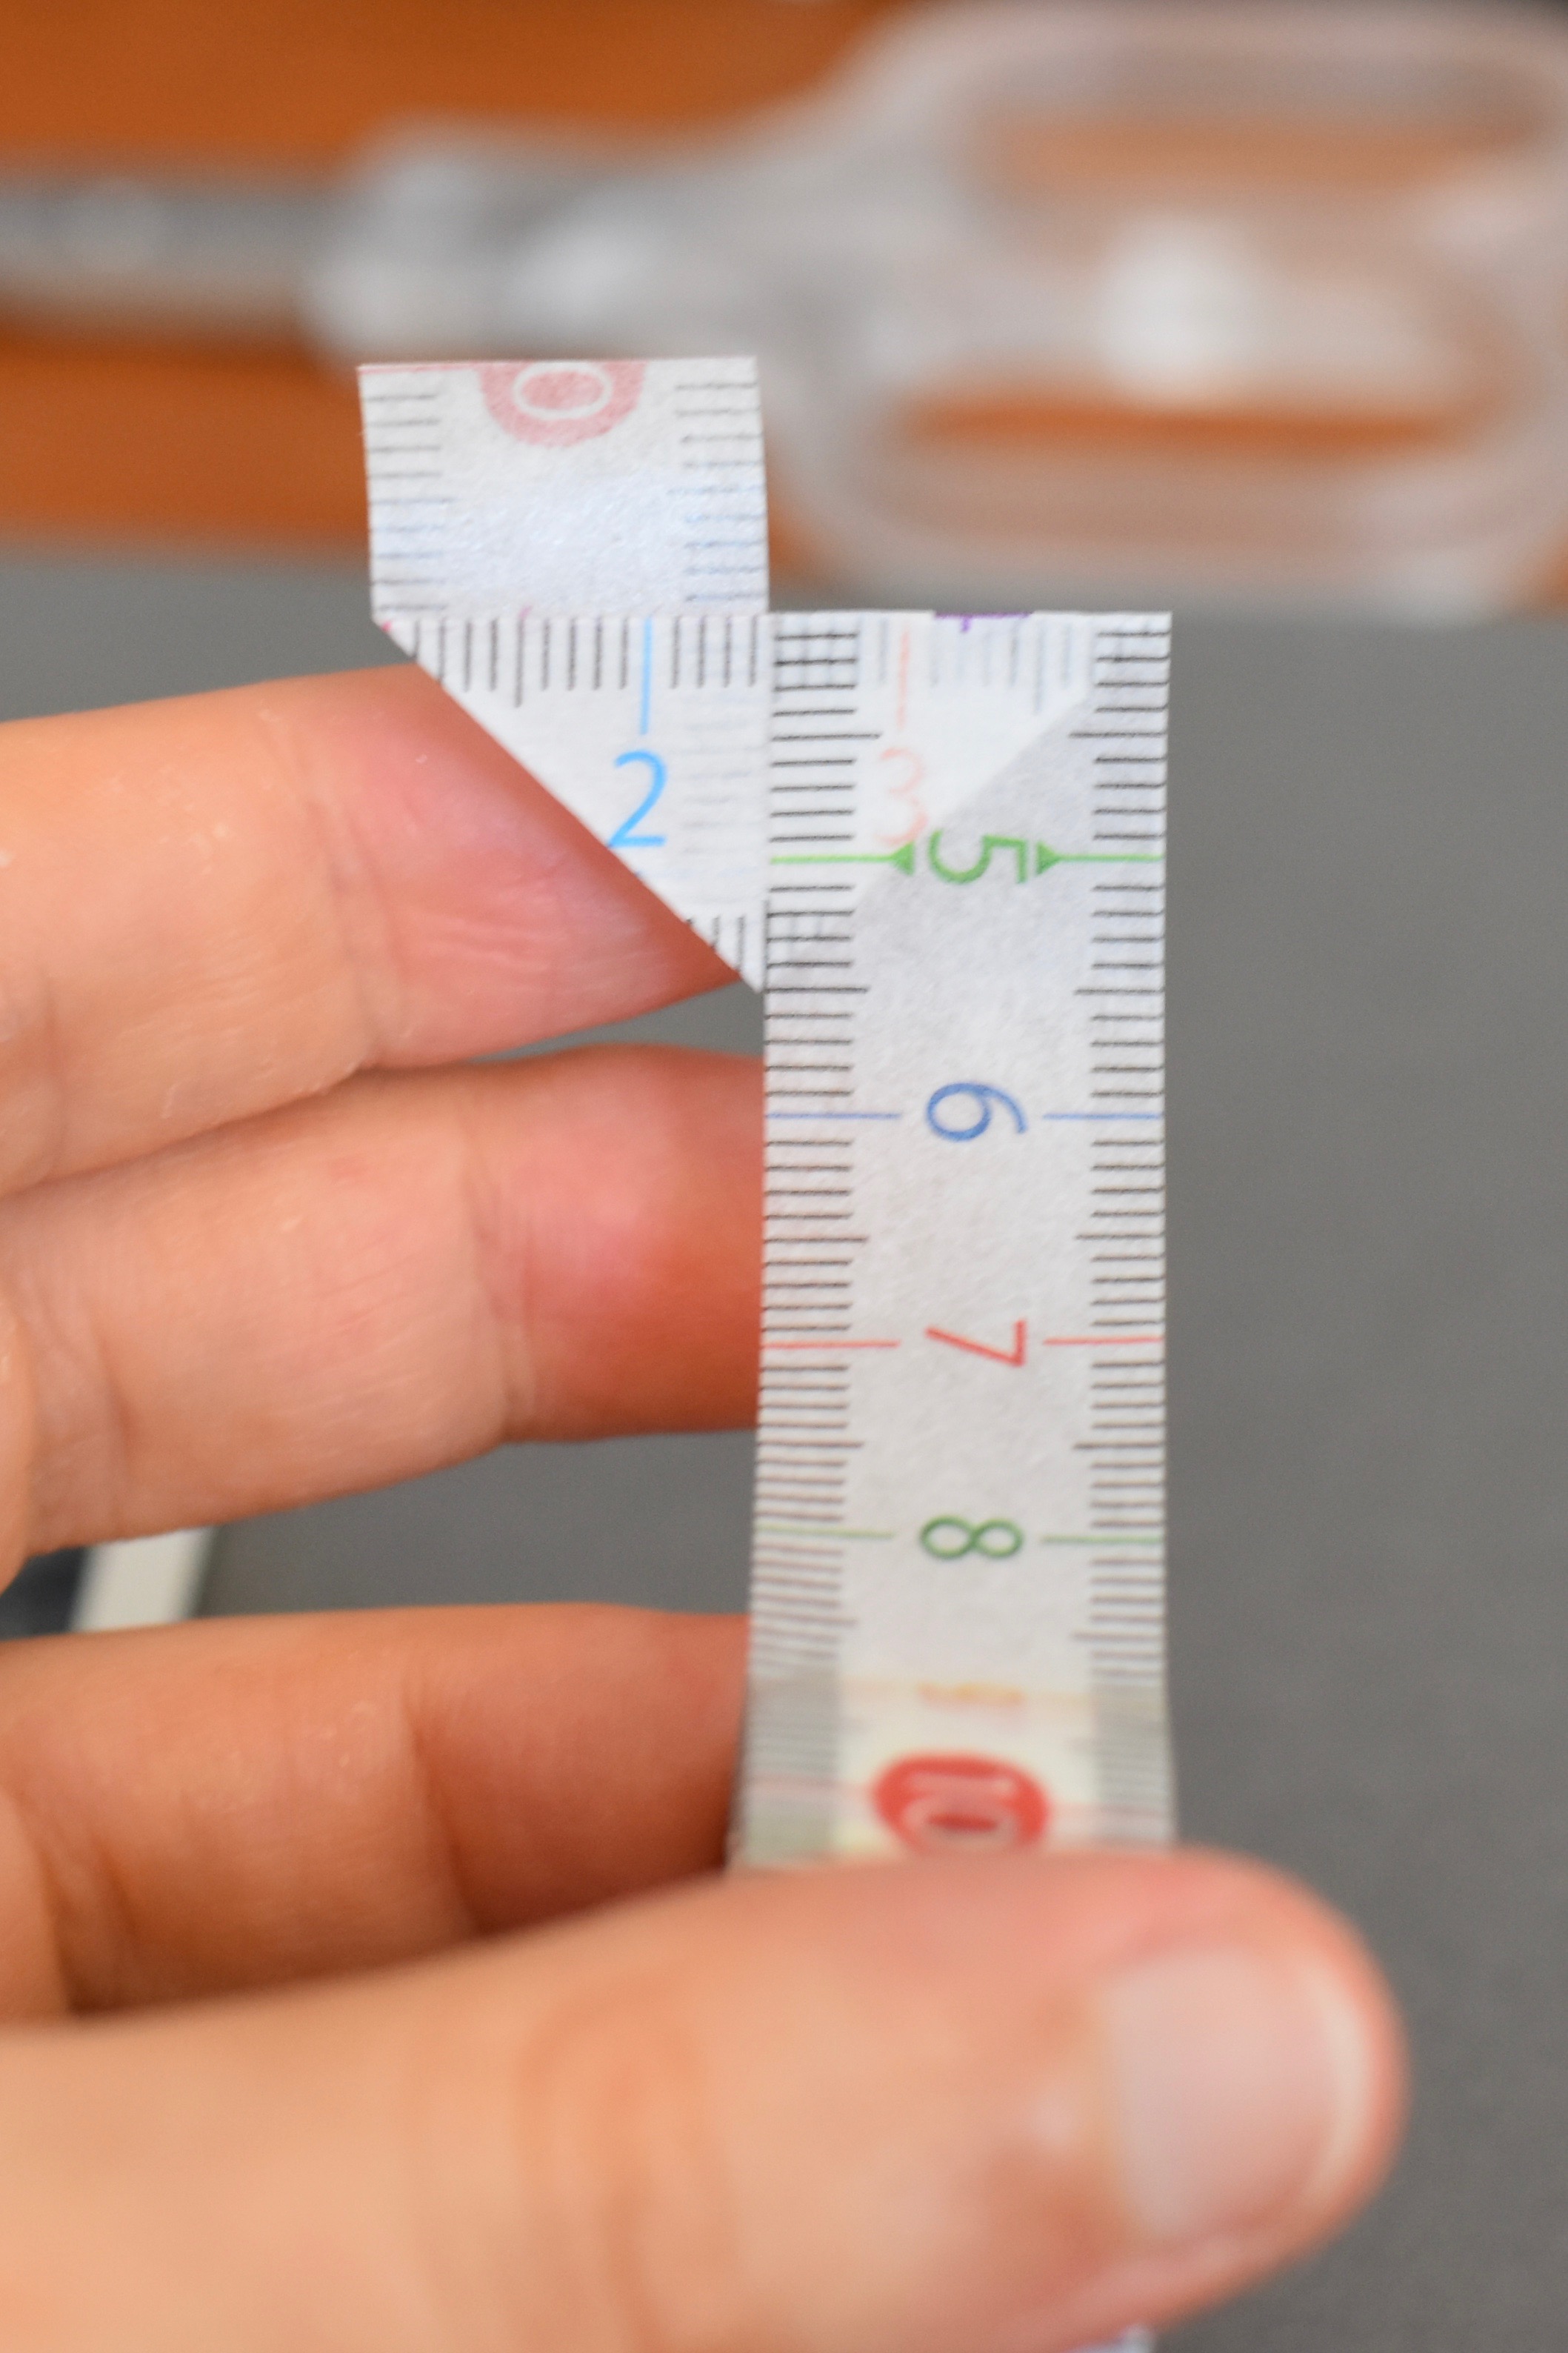
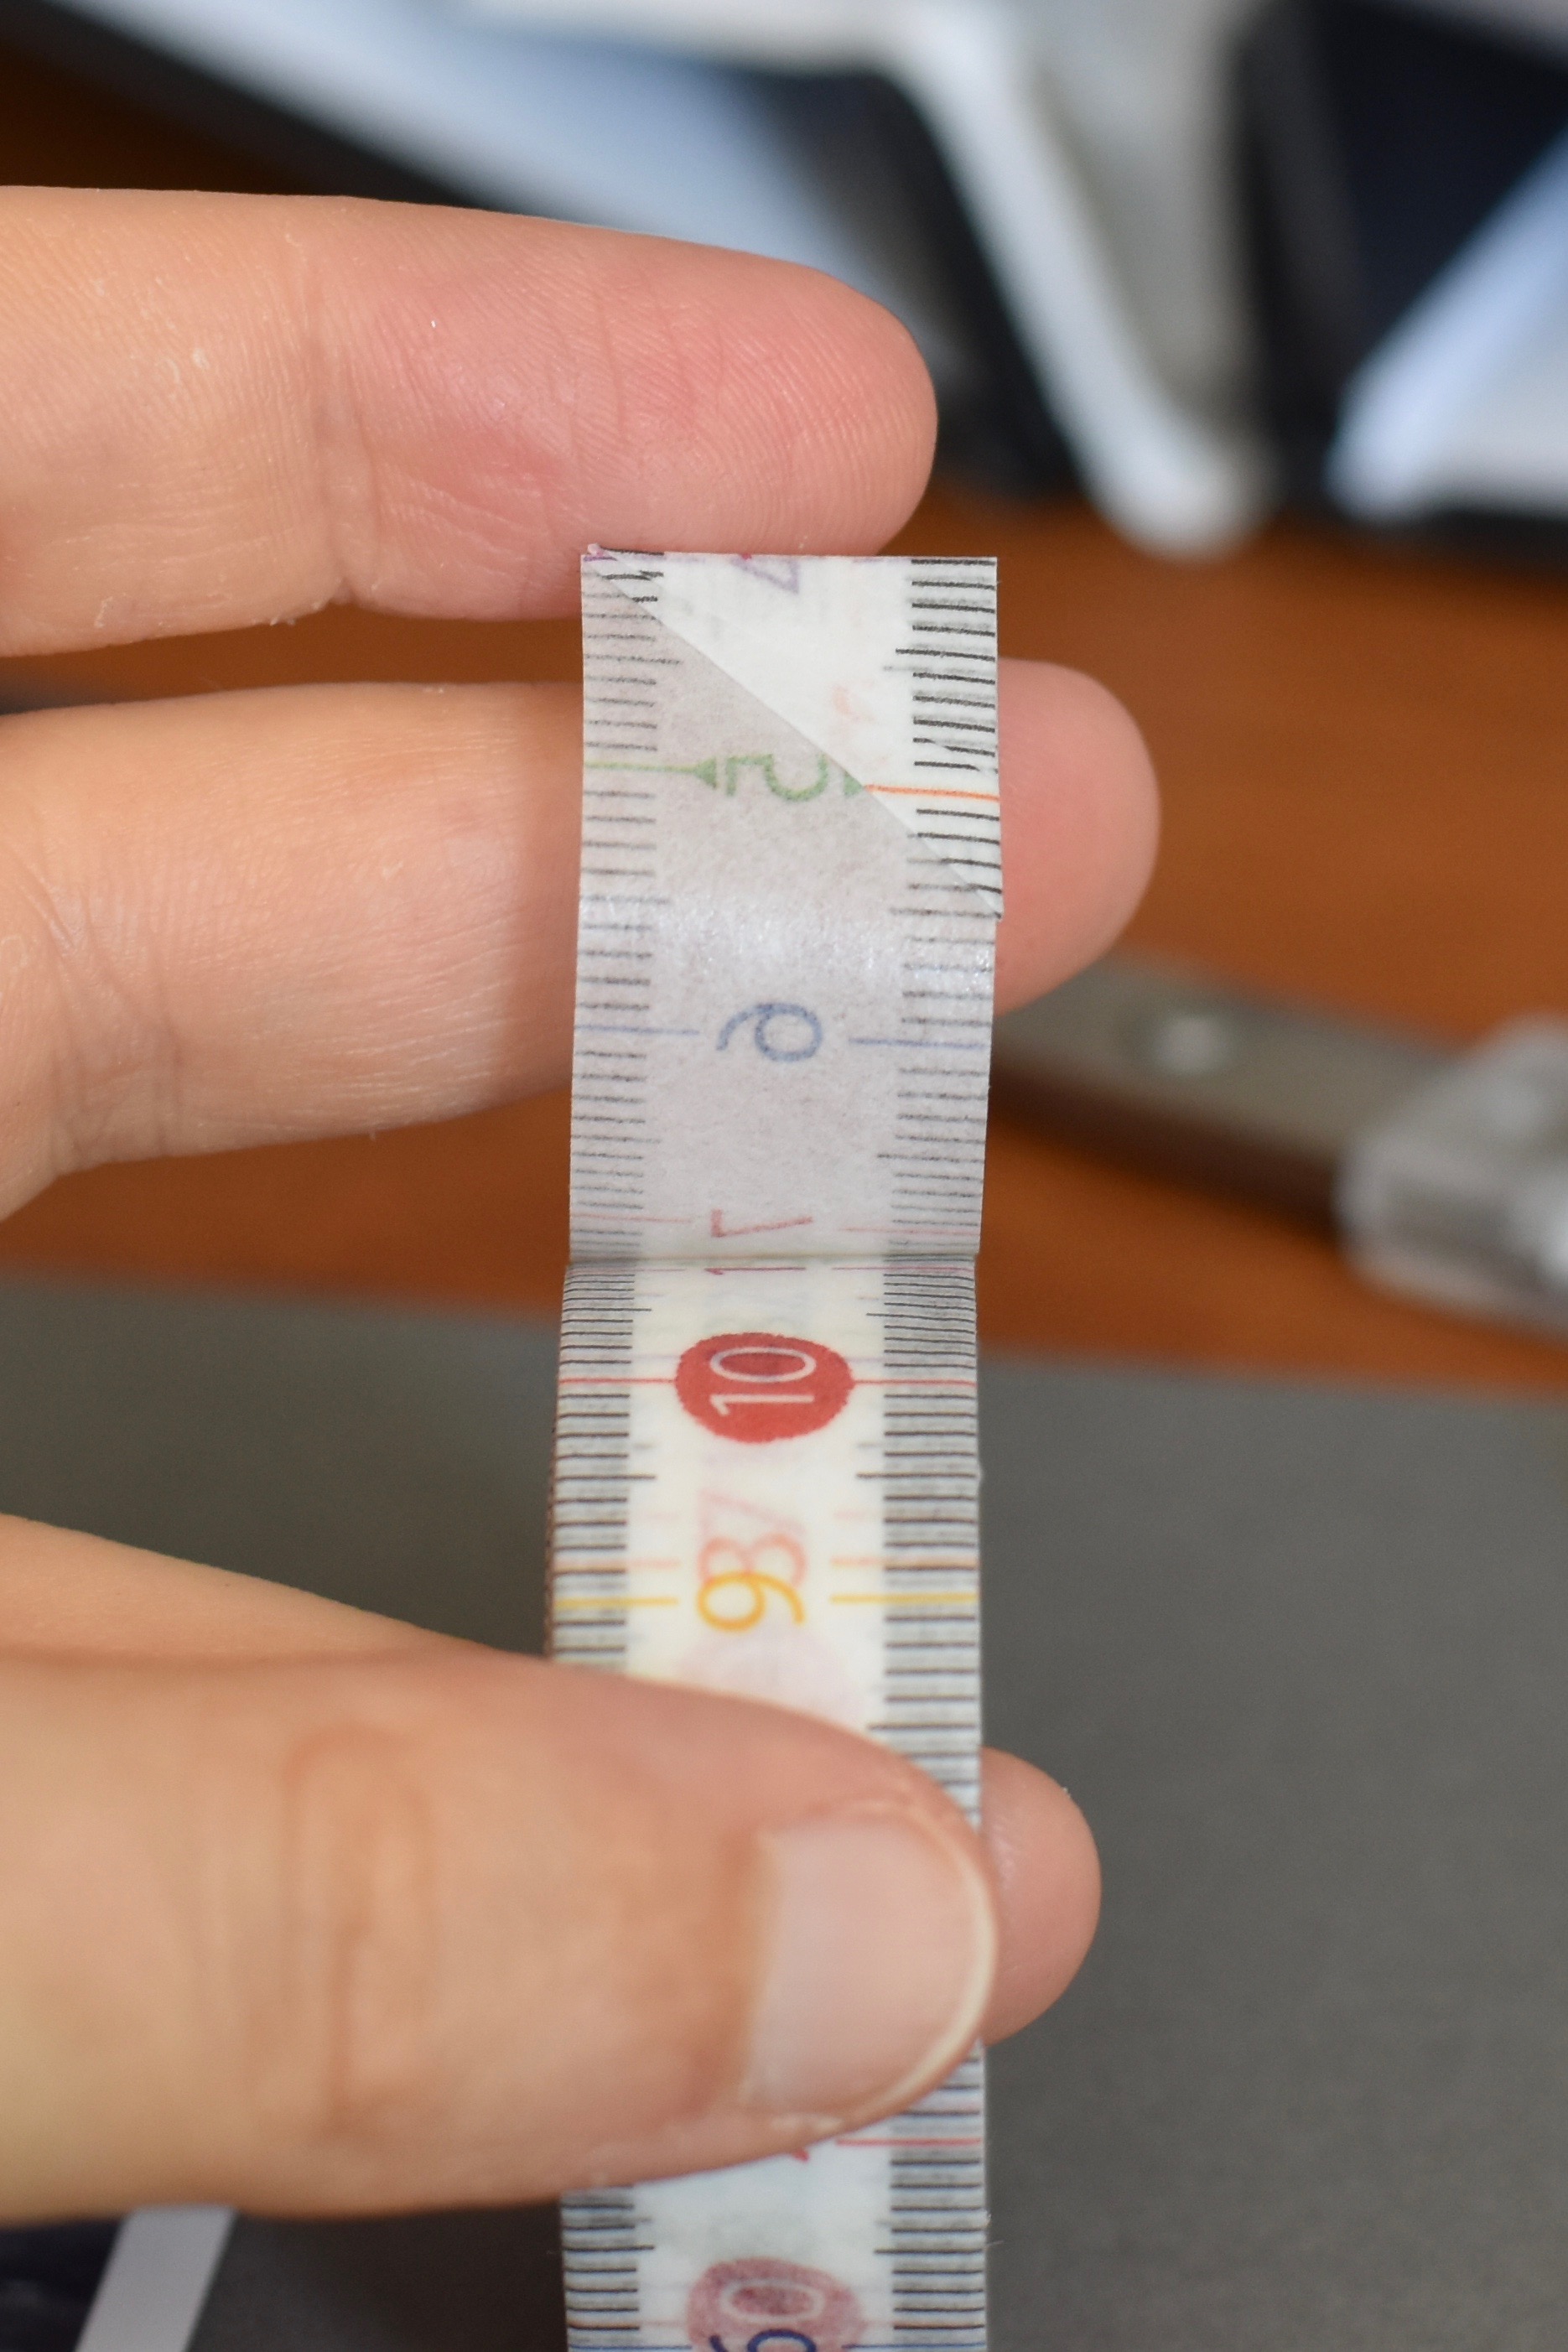
Fold the part attached to the roll down as far as you can.
Fold down the middle, as if closing a book (a vertical valley fold).
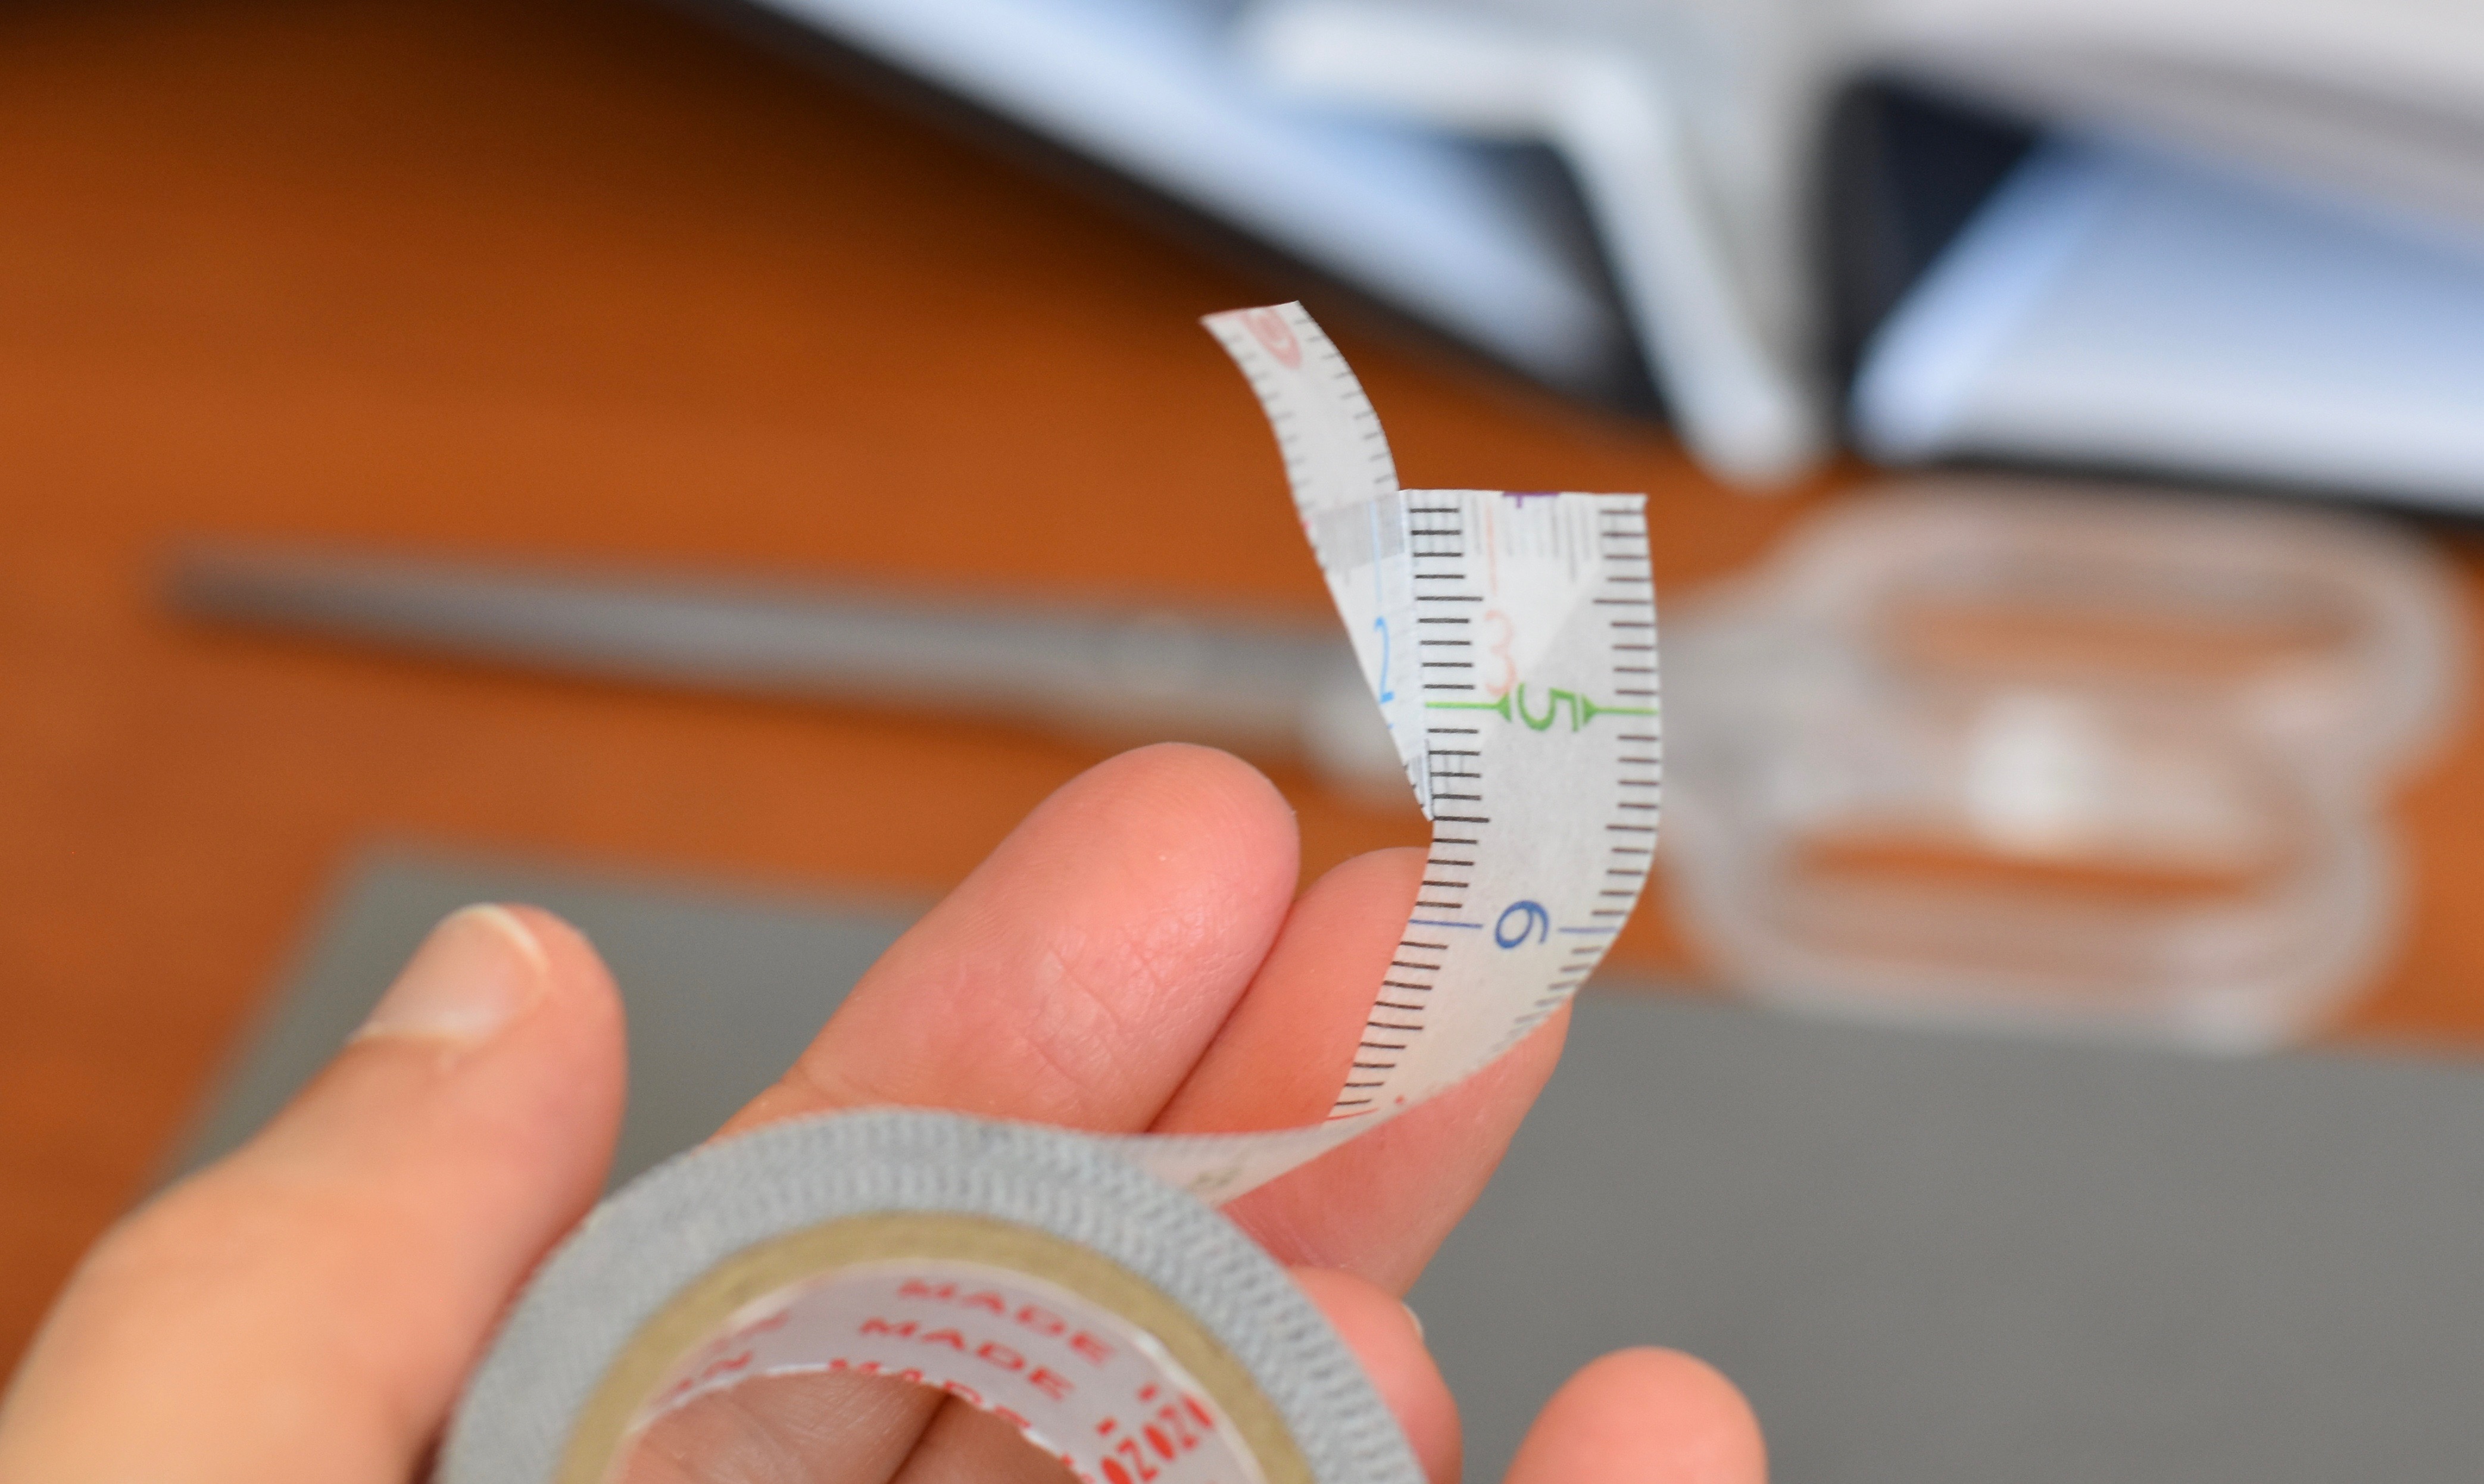
Turn it over so the sticky side faces up.
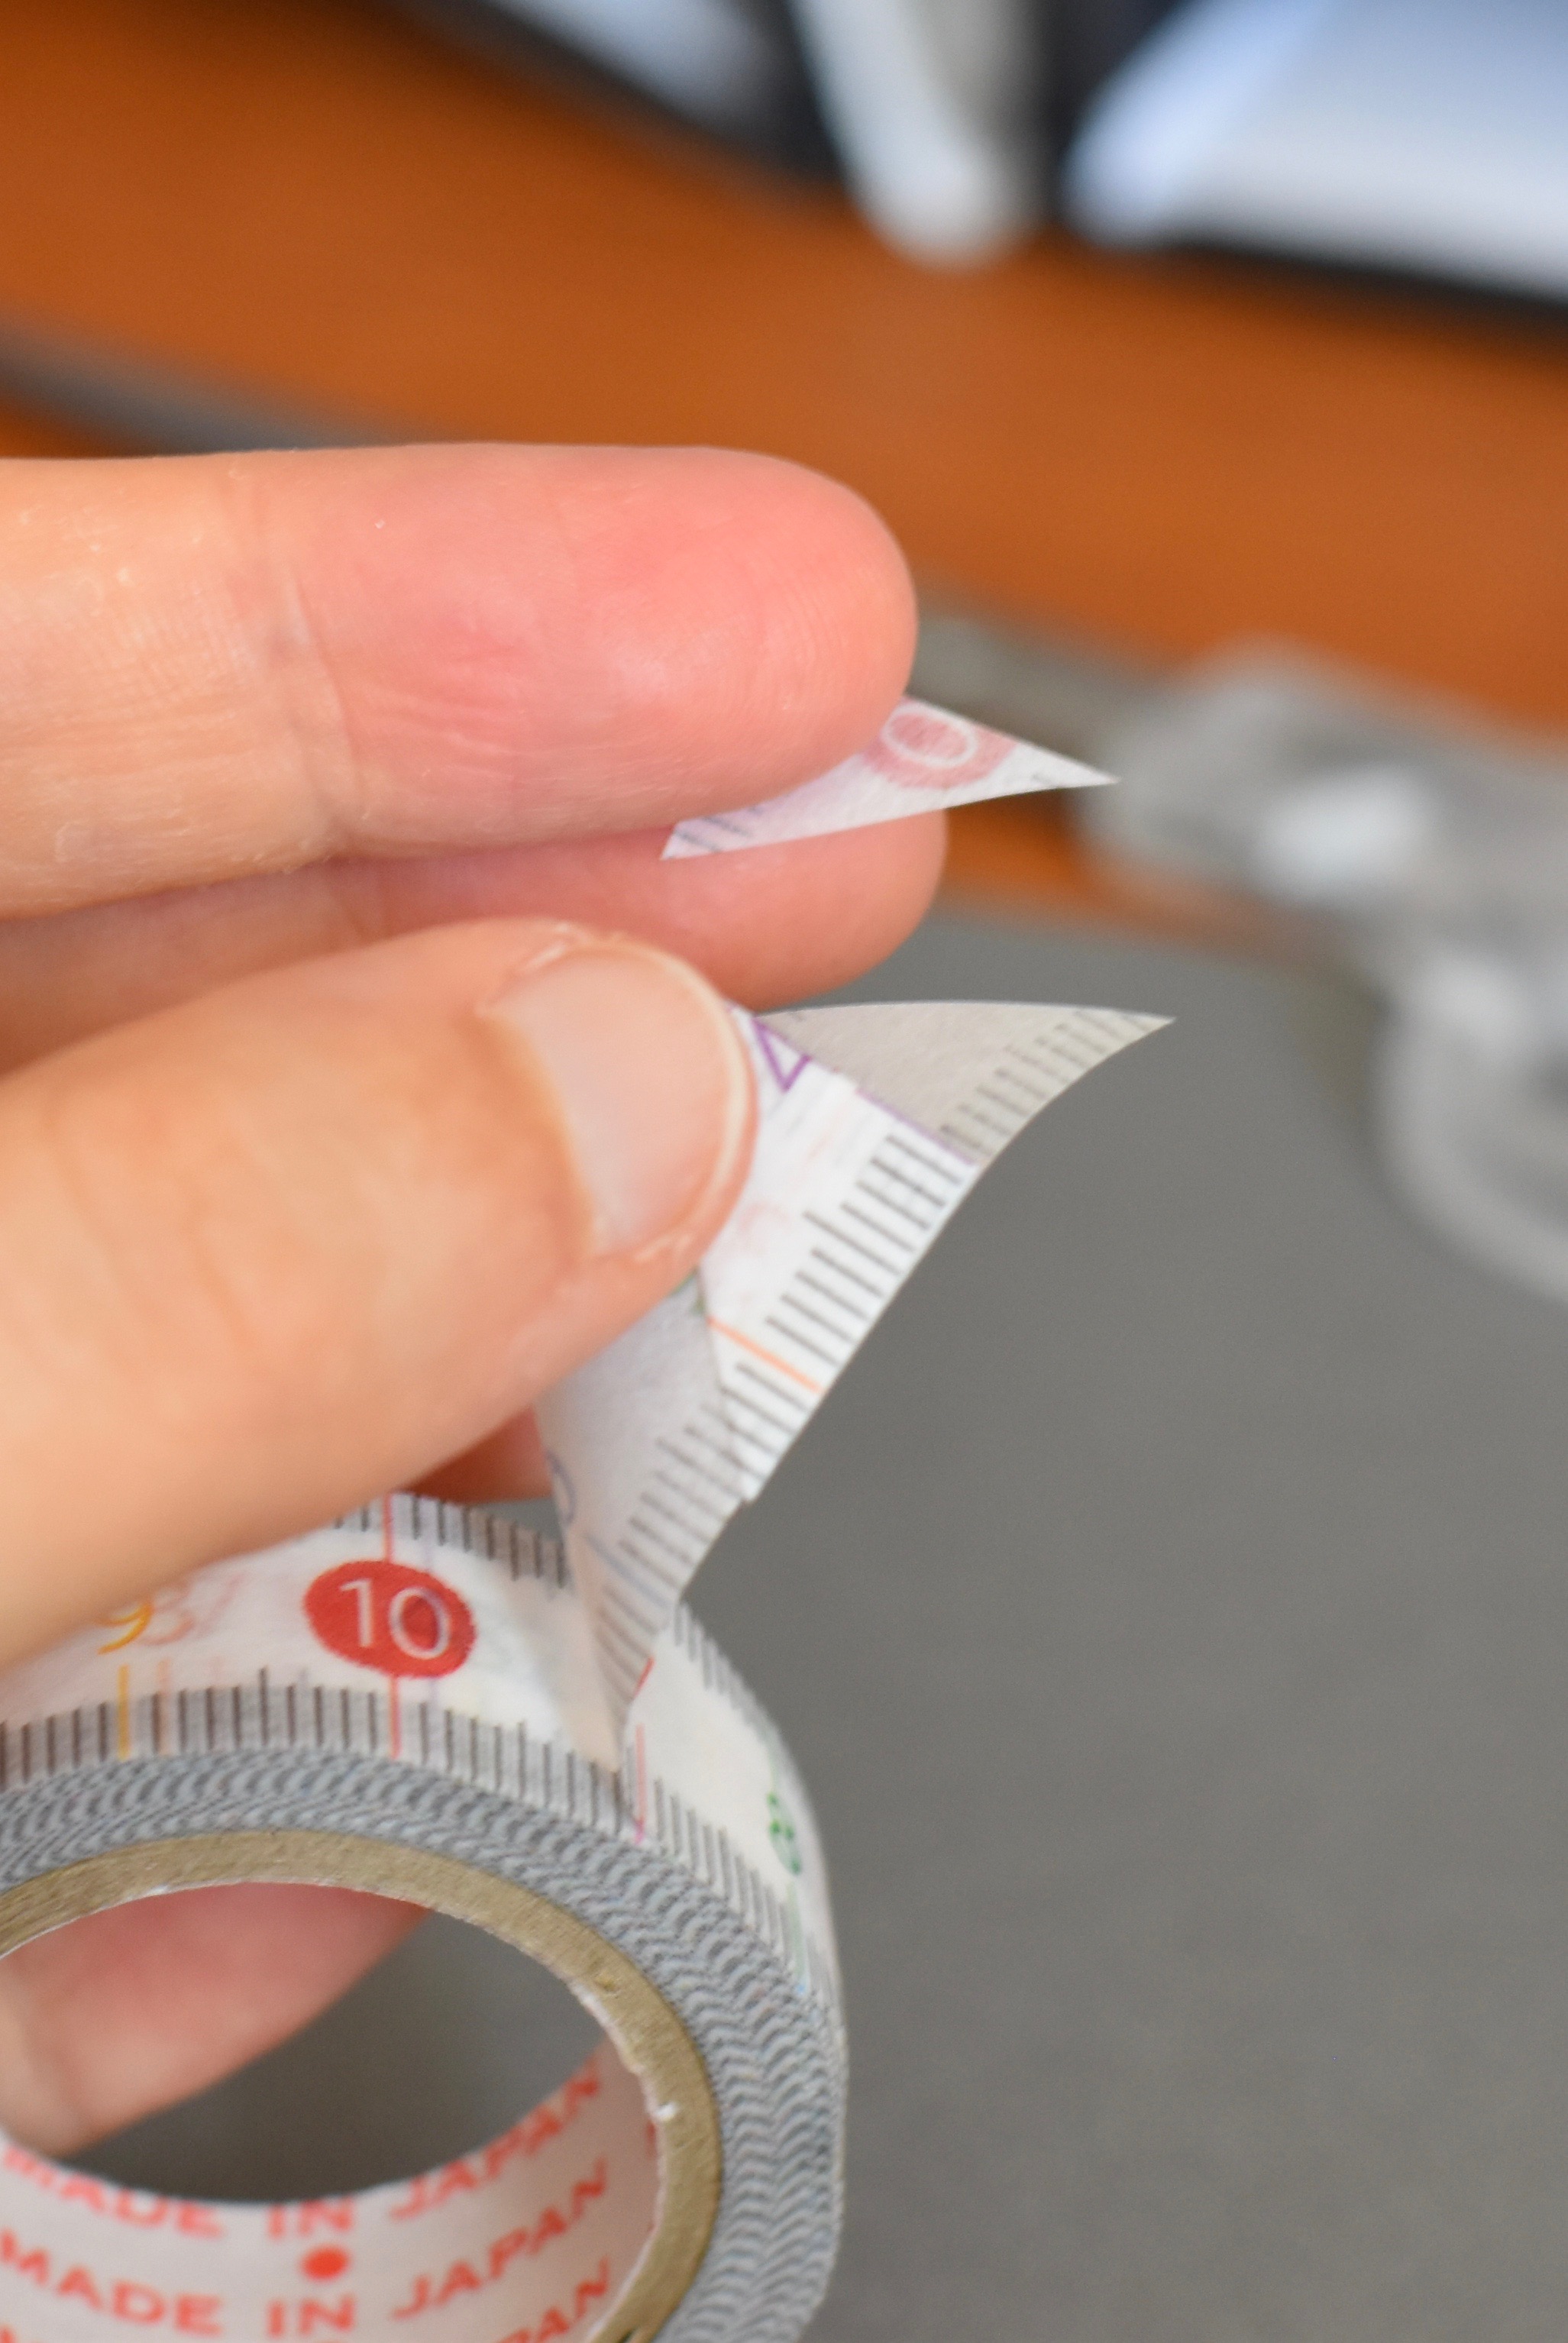
Cut off the end of the tape on an angle, to mirror the non-sticky triangle.
Fold the end down towards you.
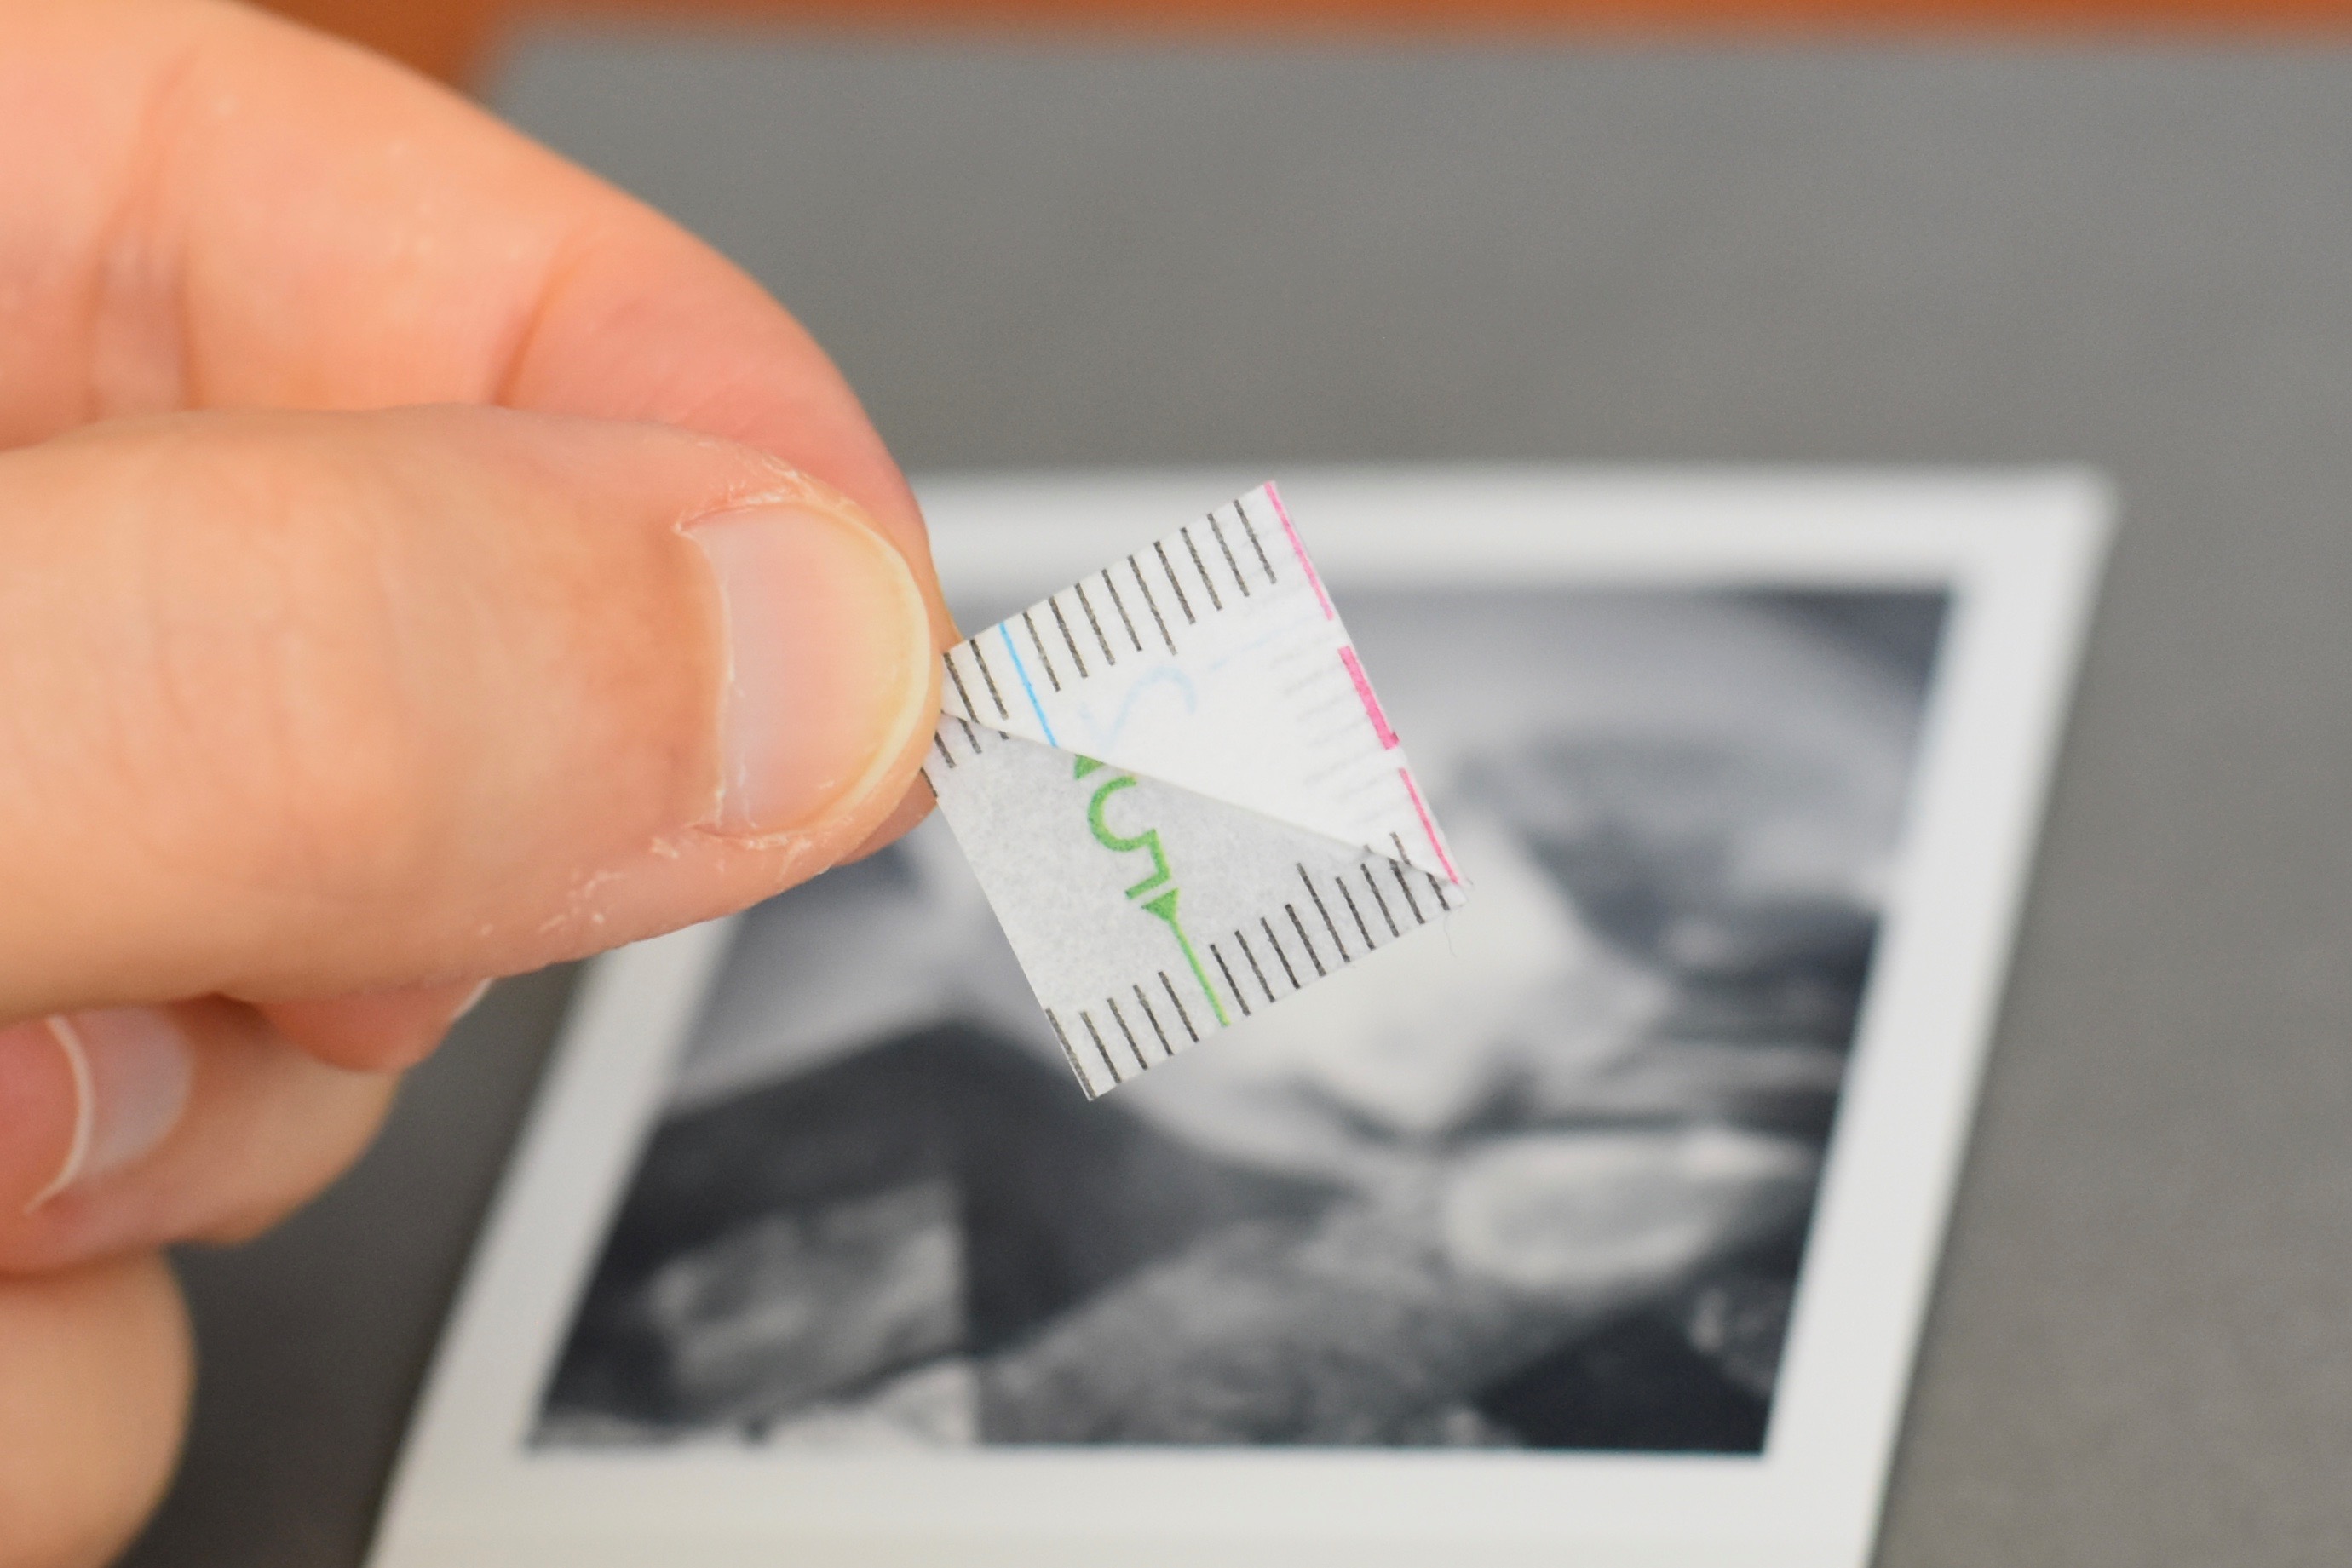
Cut the tape straight across under the triangle. You should then have a sticky triangle and a not-sticky triangle. If you turn it over, you will have a little pocket. I used 5.5cm of tape to make this photo corner.
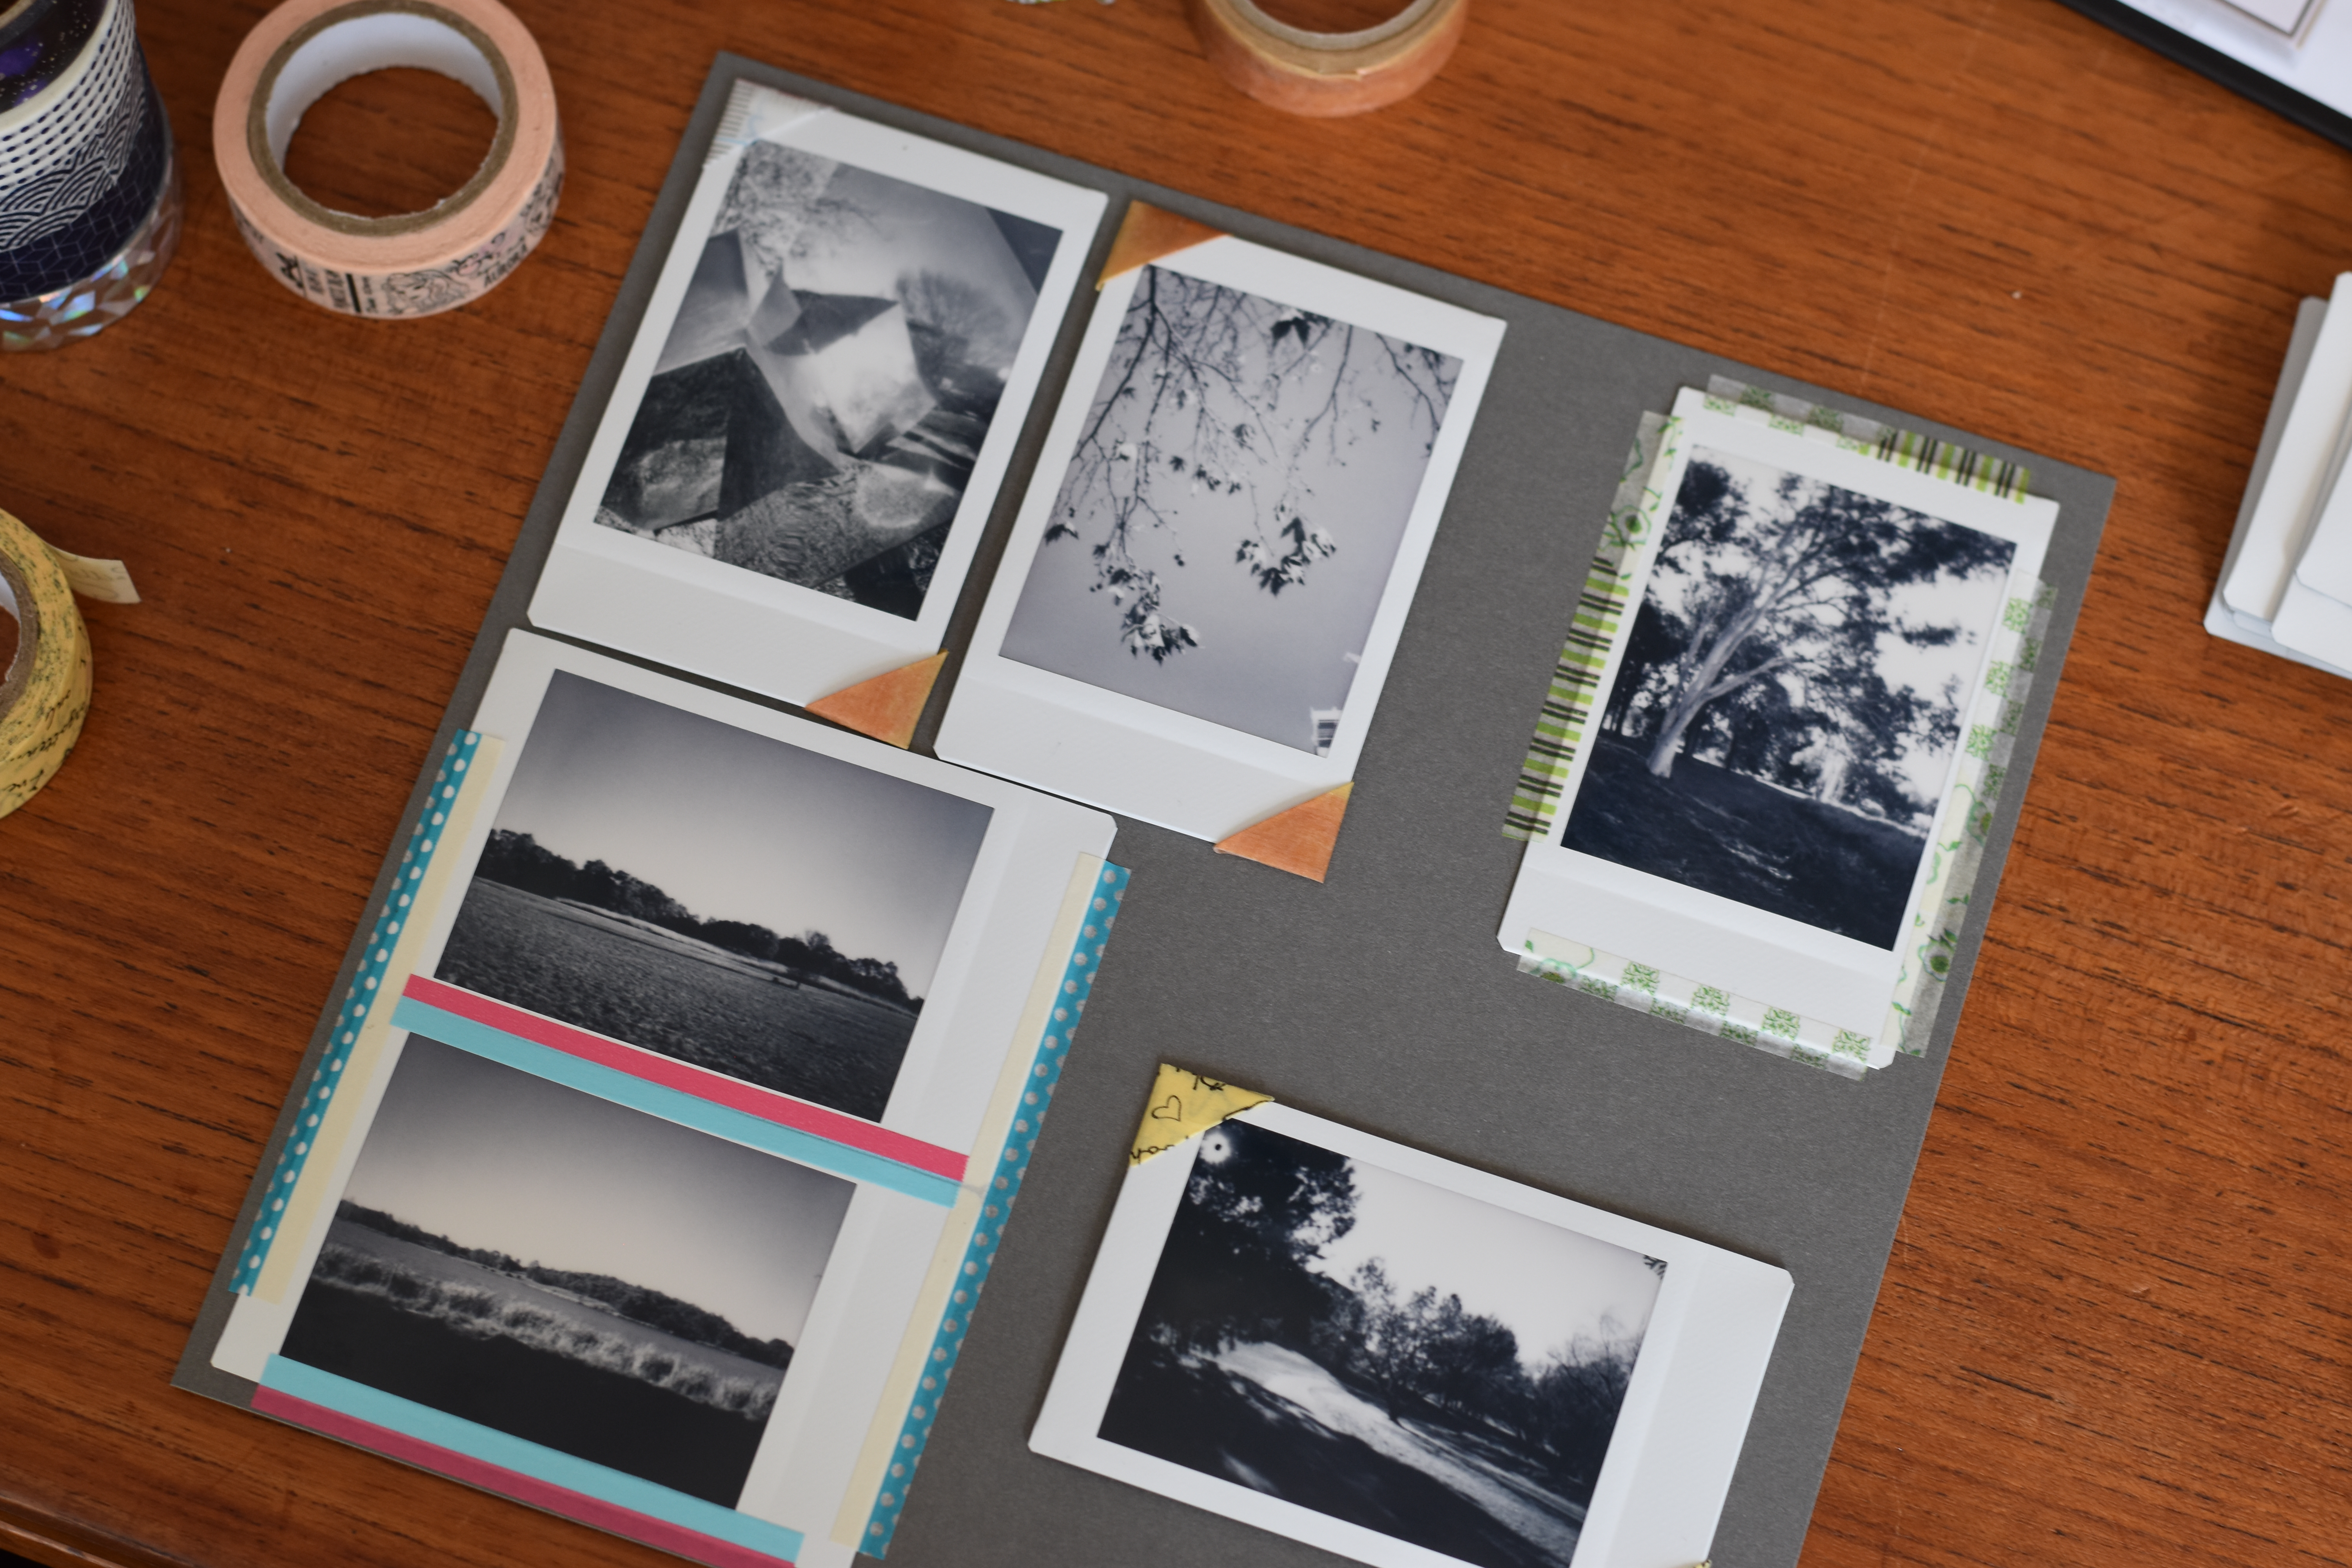
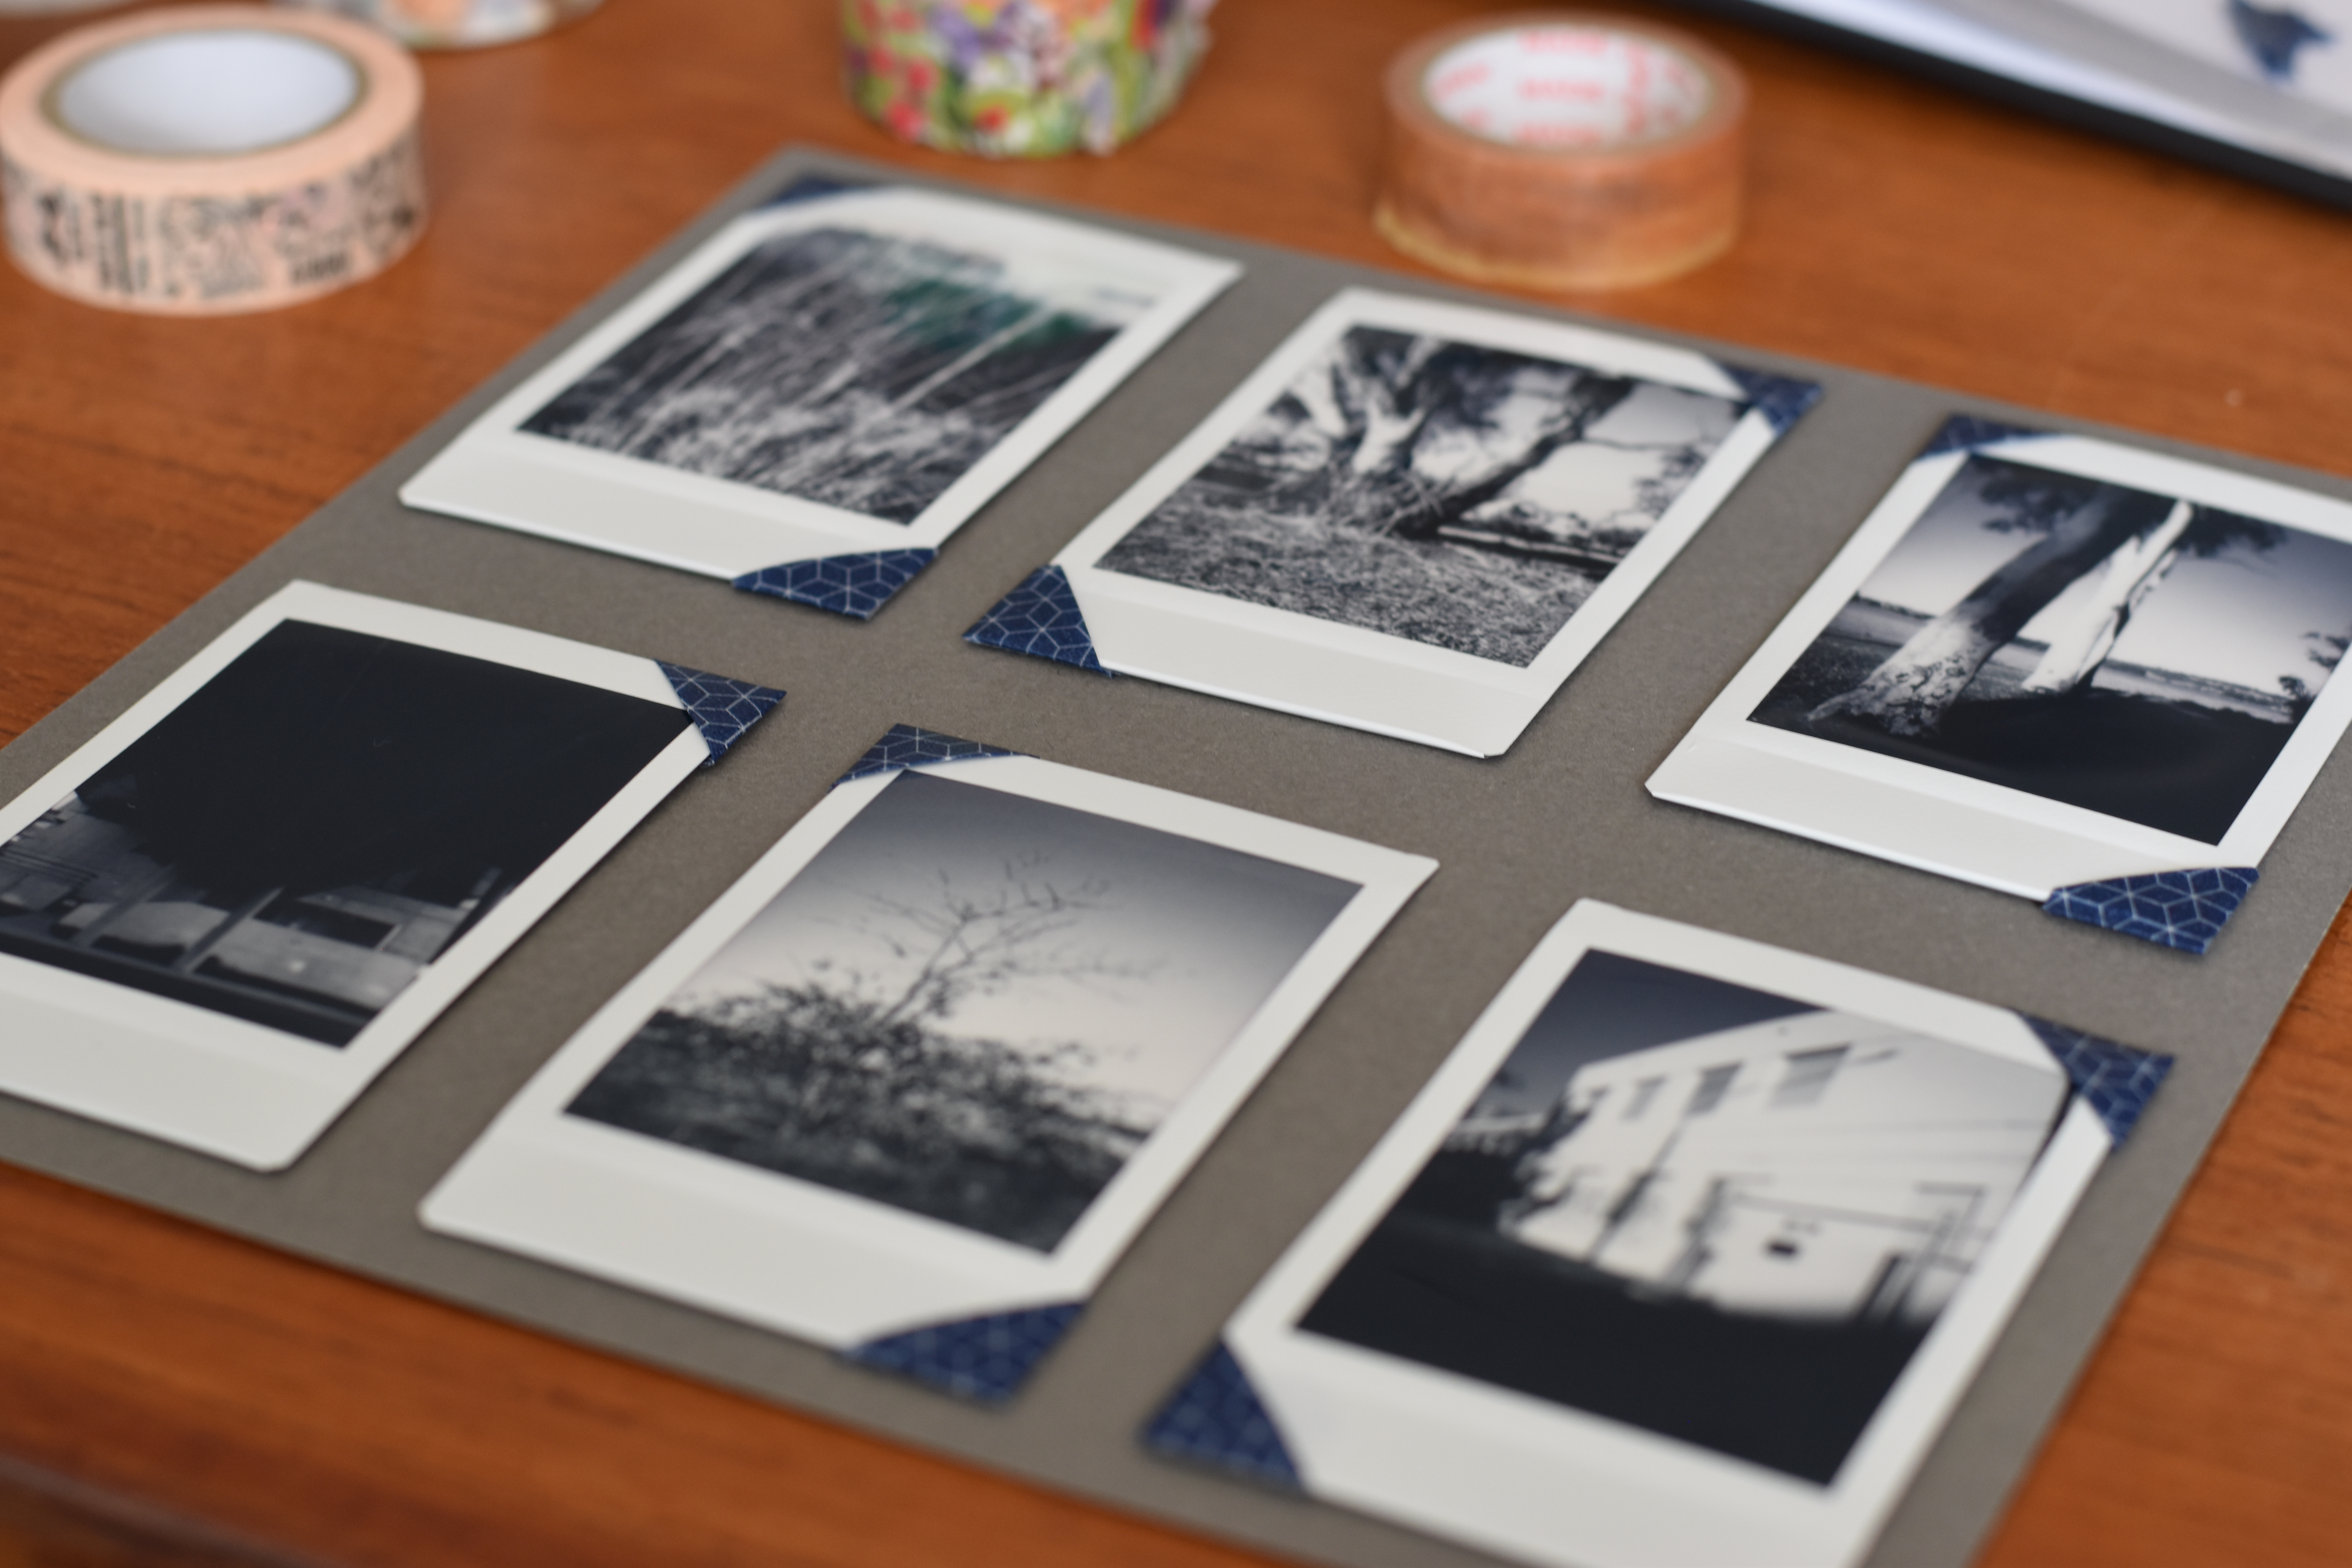
Now you can use your photo corner! I generally use two on opposite corners to hold down an Instax mini print, which is 54mm by 86mm. I would recommend four to hold down a 4” by 6” photo print. Make sure to press firmly over the sticky bit, which isn’t under the bit that goes over the photo. You will have to touch the photo, sorry… maybe use a tissue over your finger if you’re worried about oils from your hands.
-
Confusingly, washi tape is not made of washi, a type of Japanese paper. In Japan it’s known simply as masking tape (マスキングテープ). ↩
-
If you would like to be a perfectionist you can leave 1.5cm at the end and it will look neater on the back, but nobody can see the back so I save 0.5cm of tape and just use 1cm. ↩